
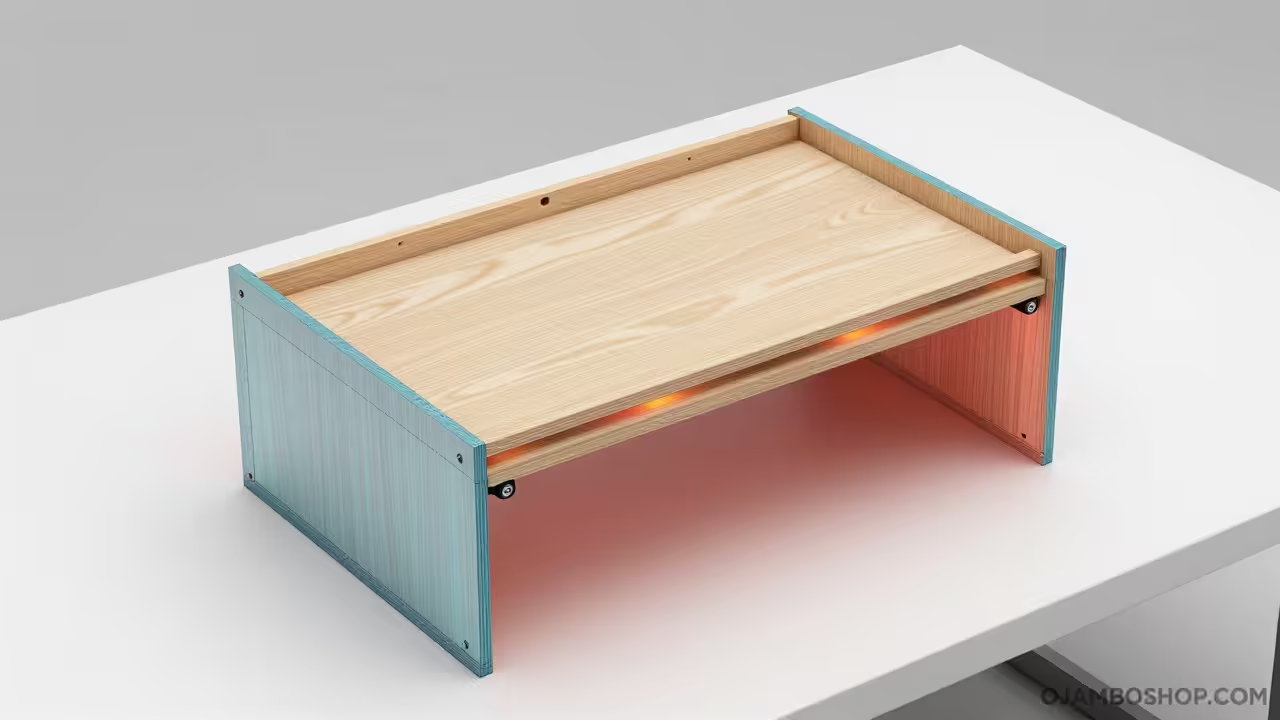
Finding enough room for a dedicated workspace is a common struggle for modern homeowners and hobbyists. A full sized workbench often consumes too much floor area in a small garage or spare room.
The Murphy folding workbench solves this problem by utilizing vertical wall space instead of permanent floor real estate. It provides a professional grade surface for assembly and repair while disappearing when the project is finished.
Adding a folding station like this increases the overall utility of your property by maximizing efficiency. It allows you to maintain a clean environment without sacrificing the ability to perform heavy duty manual labor.
Quick Specs
Dimensions 48 inches wide by 24 inches deep by 36 inches high.
Estimated Cost 150 to 250 US Dollars depending on lumber sourcing.
Difficulty Level Intermediate.
Estimated Build Time 12 to 16 total labor hours.
Materials and Tools
Lumber Requirements
- Two sheets of 3/4 inch birch plywood for the tabletop and face frame
- Six 8 foot 2×4 kiln dried studs for the internal structural framing
- One 48 inch heavy duty stainless steel piano hinge
- Four 3 inch heavy duty folding shelf brackets rated for 500 lbs
- One box of 2.5 inch pocket hole screws
- One box of 3 inch lag bolts for wall anchoring
Required Tool List
- Circular saw or table saw
- Power drill and impact driver
- Pocket hole jig
- Level and speed square
- Orbital sander with 80 and 120 grit paper
- Stud finder
- Clamps at least four 24 inch bars
Hardware Comparison
| Component | Standard Hardware | Professional Grade | Recommended Choice |
|---|---|---|---|
| Hinge | Butt Hinge | Piano Hinge | Piano Hinge |
| Brackets | Folding L Bracket | Heavy Duty Locking | Locking Bracket |
| Fasteners | Wood Screws | Lag Bolts | Lag Bolts |
| Finish | Paint | Polyurethane | Polyurethane |
Technical Layout
The structural integrity of the Murphy workbench relies on a cantilevered load distribution system. The primary weight is carried by the wall mounted frame which acts as the anchor point for the entire assembly.
This frame must be perfectly plumb to ensure the tabletop sits level when deployed.
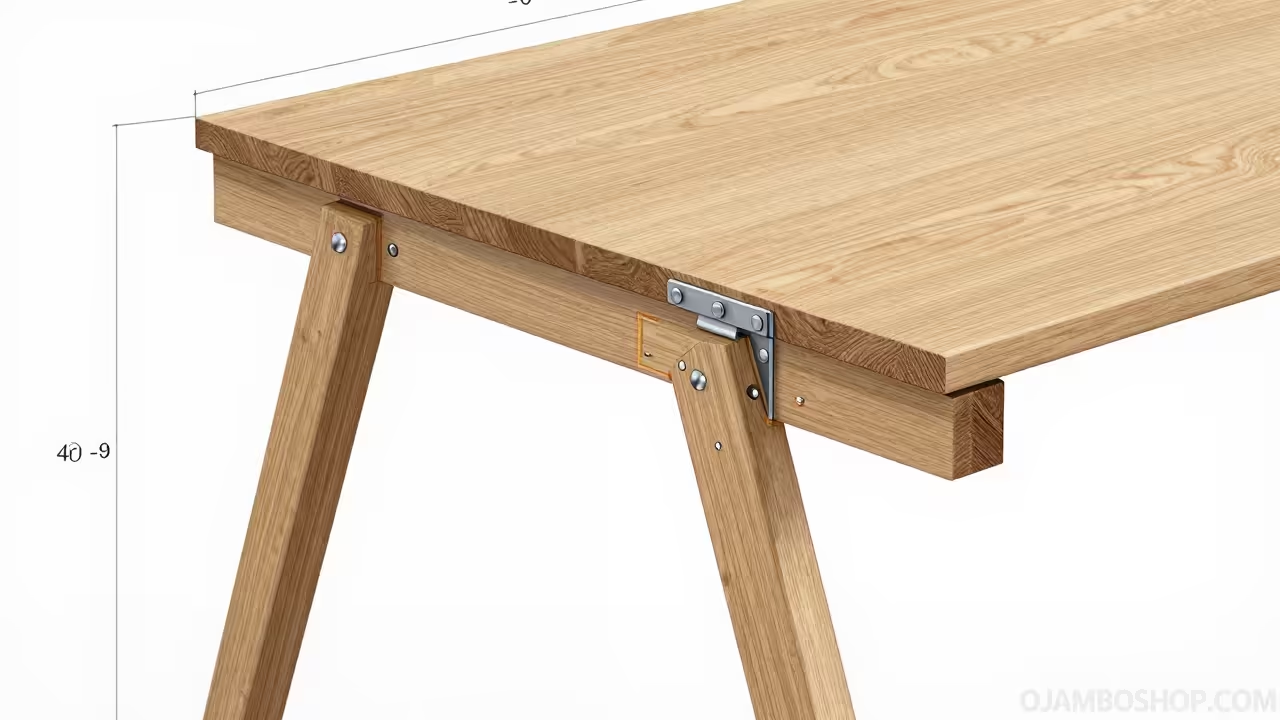
The pivot mechanism is centered on the piano hinge which distributes the rotational stress across the entire width of the bench. Unlike standard hinges that create point loads, the piano hinge prevents the plywood from bowing under heavy pressure.
This ensures the surface remains flat during precision tasks.
Load bearing is further supported by the locking brackets which transfer the vertical force directly into the wall studs. The geometry is designed to handle a static load of up to 400 pounds without significant deflection.
By securing the frame with lag bolts, you eliminate the risk of the unit pulling away from the wall.
Step by Step Instructions
Phase 1 Preparing the Lumber and Cut List. Begin by measuring and cutting your 2×4 studs into the primary frame components. You will need four pieces at 46 inches for the horizontal rails and six pieces at 22 inches for the vertical supports.
Use a speed square to ensure every cut is exactly 90 degrees to avoid gaps in the frame. Accuracy at this stage prevents the bench from wobbling once it is mounted to the wall.
Phase 2 Constructing the Wall Mounted Frame. Assemble the main wall frame using a pocket hole jig to create seamless joints. Connect the 46 inch rails with the 22 inch supports to create a sturdy rectangular box.
Ensure the frame is perfectly square by measuring the diagonals from corner to corner. Use 2.5 inch pocket screws to pull the joints tight and create a rigid chassis.
Phase 3 Fabricating the Workbench Tabletop. Cut a piece of 3/4 inch birch plywood to exactly 48 inches by 24 inches. This piece serves as your primary work surface and must be sanded smooth to prevent splinters.
Use the orbital sander to round over the edges slightly for a more professional finish. Ensure the plywood is free of voids or knots that could compromise the structural strength.
Phase 4 Installing the Piano Hinge. Lay the tabletop flat on a stable surface and align the piano hinge along the rear edge. Pre drill the holes to prevent the plywood from splitting during the installation process.
Drive the screws through the hinge and into the wood every four inches for maximum hold. Once the tabletop is secure, attach the other side of the hinge to the top rail of the wall frame.
Phase 5 Integrating the Support Brackets. Measure the distance from the wall to the front edge of the tabletop to determine bracket placement. Install the heavy duty folding brackets on the interior of the wall frame.
Ensure the brackets are aligned perfectly so they engage the tabletop simultaneously when the bench is lowered. Use a level to verify that the brackets are not tilted which would cause the bench to lean.
Phase 6 Anchoring the System to the Wall. Use a stud finder to locate the center of the wall studs behind your mounting area. Position the wall frame against the studs and mark the holes for the lag bolts.
Drill pilot holes through the frame and into the studs to avoid cracking the wall plates. Drive the 3 inch lag bolts home until the frame is pressed tight against the drywall.
Phase 7 Installing the Locking and Safety Mechanism. Add a heavy duty sliding bolt or a magnetic latch to the top of the frame. This prevents the workbench from accidentally falling open while you are moving around the room.
Test the latch multiple times to ensure it holds the weight of the tabletop securely. If the latch feels loose, add a shim of scrap wood to tighten the fit.
Phase 8 Final Sanding and Surface Finishing. Sand the entire assembly with 120 grit sandpaper to remove any remaining rough spots. Apply a thin coat of polyurethane to the tabletop to protect it from oil and chemical spills.
Allow the first coat to dry completely before lightly sanding and applying a second coat. This creates a durable water proof barrier that makes cleaning the workbench much easier.
Common Mistakes
One frequent error is failing to use a stud finder and relying on drywall anchors. Drywall anchors cannot support the dynamic load of a workbench and will eventually pull out. Always secure your frame directly into the wooden studs using heavy duty lag bolts.
Another mistake involves using standard butt hinges instead of a full length piano hinge. Butt hinges create localized stress points that can cause the plywood to crack or warp over time. The piano hinge provides continuous support across the entire 48 inch span of the project.
Some builders forget to pre drill their holes in the birch plywood. Plywood is prone to splitting along the grain when screws are driven in without a pilot hole. Always use a drill bit slightly smaller than the screw diameter to ensure a clean fit.
Lastly, many people overlook the importance of the final finish. Leaving the wood raw makes it susceptible to moisture and staining from workshop chemicals. A high quality polyurethane finish is essential for the longevity of the build.
Maintenance and Safety
To maximize the lifespan of your workbench, use stainless steel fasteners in the hinge area to prevent corrosion from humidity. If you live in a damp climate, apply a moisture barrier or a primer to the back of the plywood before mounting it to the wall.
This prevents the wood from absorbing moisture from the wall and warping over time.
Always wear safety goggles and a dust mask when cutting plywood and sanding the finish. The fine dust from birch plywood can be an irritant to the lungs and eyes. Ensure your workspace is well ventilated when applying polyurethane to avoid inhaling toxic fumes.
Inspect the piano hinge and locking brackets every six months for signs of wear or loosening. Tighten any screws that have backed out due to the vibration of using power tools on the surface. Lubricate the folding brackets with a small amount of silicone spray to keep the movement smooth.
If you plan to use the bench for heavy grinding or welding, add a sacrificial layer of hardboard to the top. This allows you to replace the top surface without having to rebuild the entire structural frame. Simply screw the hardboard down and swap it out when it becomes too worn.