
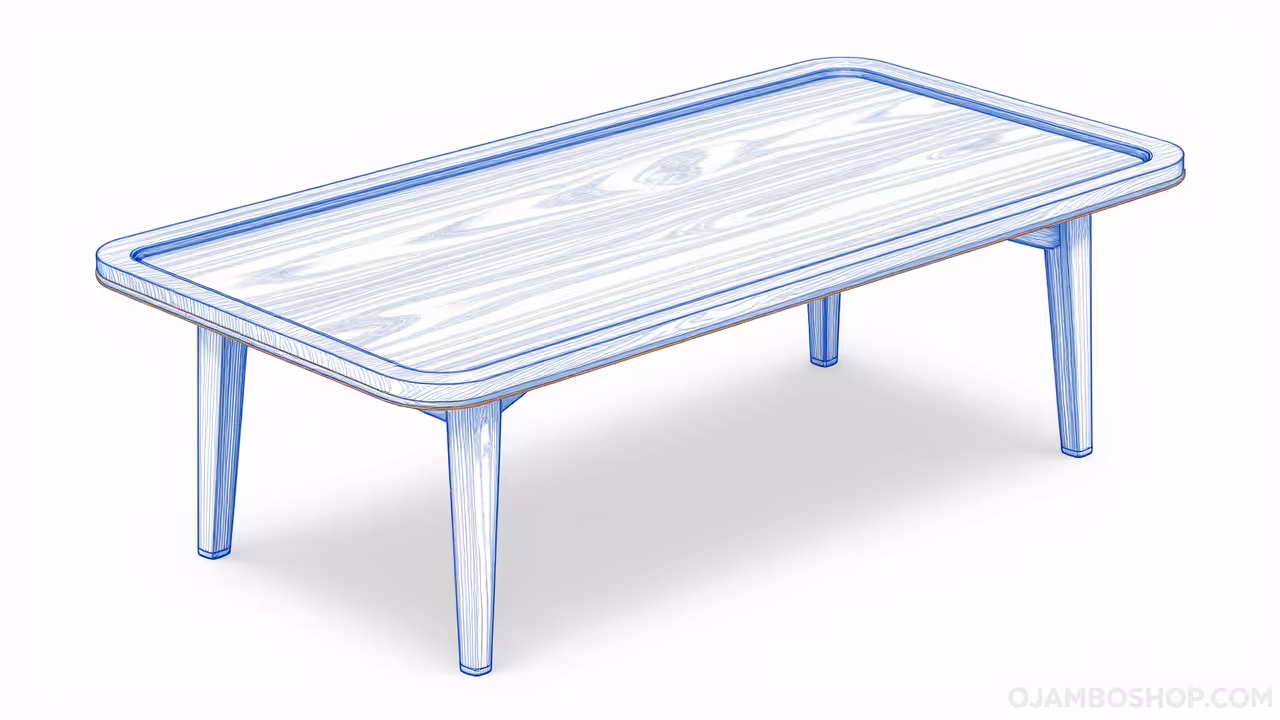
The Mid-Century Modern aesthetic continues to dominate interior design because it perfectly balances functional minimalism with organic warmth. Adding a custom-built coffee table to your living space does more than just provide a surface for books and drinks. It serves as a structural anchor that defines the room’s visual center while showcasing the natural grain of premium hardwoods.
For the modern homeowner, building furniture rather than buying mass-produced pieces adds significant equity and character to the property. This specific design focuses on the iconic splayed, tapered leg profile which creates an illusion of lightness and sophisticated geometry. By following this professional blueprint, you will create a heirloom-quality piece that rivals high-end boutique furniture at a fraction of the retail cost.
Investing time into a project of this caliber rewards you with a deeper understanding of joinery and finishing techniques. A well-executed coffee table is often the first thing guests notice when they enter a home, signaling a commitment to quality and craftsmanship. This guide is engineered to ensure your success by focusing on structural integrity and the timeless proportions of the 1950s era.
Quick Specs
Overall Dimensions: 48 inches (Length) x 24 inches (Width) x 18 inches (Height)
Estimated Cost: $85 to $150 depending on wood species selection
Difficulty Level: Intermediate (Requires precise angled cuts)
Estimated Build Time: 6 to 8 hours (Excluding finishing and drying time)
Materials and Tools
To achieve the professional results seen in high-end showrooms, your choice of materials is the most critical starting point. We recommend using Black Walnut or White Oak for the most authentic Mid-Century appearance, though Select Pine is a budget-friendly alternative for those planning to use a dark stain.
Lumber List:
* 1 Unit: 4/4 S4S Hardwood (Top Surface) – 24 inches x 48 inches
* 2 Units: 1×3 Hardwood (Long Aprons) – 40 inches
* 2 Units: 1×3 Hardwood (Short Aprons) – 16 inches
* 4 Units: 2×2 Hardwood (Leg Blanks) – 18 inches
Hardware and Fasteners:
* 4 Units: Heavy-duty Angled Leg Mounting Plates (10-degree pitch)
* 1 Box: 1-1/4 inch Pocket Hole Screws (Fine thread for hardwoods)
* 1 Bottle: High-strength Polyurethane Wood Glue
* 1 Pack: Assorted Sandpaper Grits (80, 120, 180, 220)
* 1 Can: Satin Finish Wipe-on Polyurethane or Danish Oil
Required Tool Inventory:
* Miter Saw or Table Saw
* Handheld Drill and Driver Set
* Pocket Hole Jig
* Random Orbital Sander
* Tape Measure and Speed Square
* Wood Clamps (Minimum 24-inch capacity)
| Material Type | Durability | Finish Ease | Cost Factor |
|---|---|---|---|
| Pine | Medium | Difficult | Low |
| Walnut | High | Easy | High |
| White Oak | Extreme | Medium | High |
| Maple | High | Medium | Medium |
Technical Layout
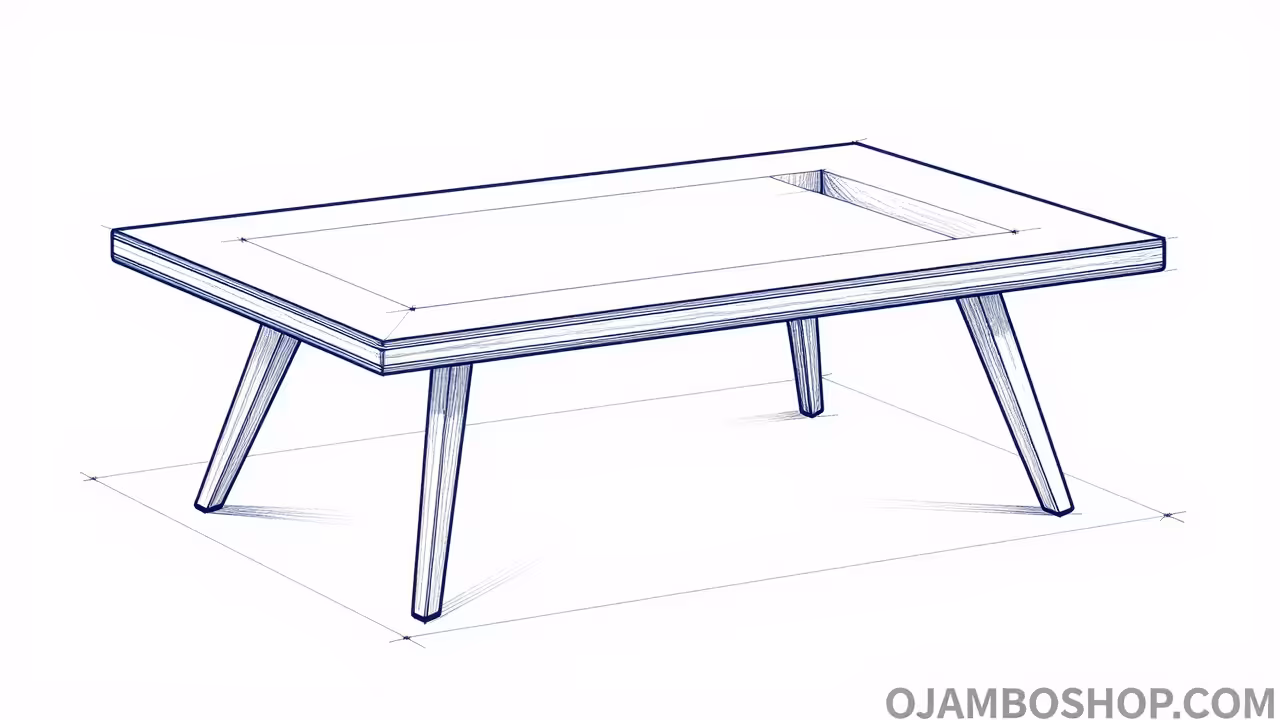
The structural integrity of a Mid-Century Modern table relies entirely on the relationship between the tabletop and the apron assembly. Unlike standard boxy furniture, this design utilizes a recessed apron system that sits 2 inches inward from the edge of the tabletop. This creates a floating effect and shadow line that is essential for the MCM aesthetic. The load-bearing capacity is managed by the internal frame, which must be perfectly square to prevent the legs from wobbling over time.
We utilize a 10-degree splay for the legs to provide lateral stability and the signature retro silhouette. The aprons act as a tension ring, holding the legs in place while supporting the weight of the solid wood top. Because wood expands and contracts across the grain, the method of attachment must allow for slight movement. Using tabletop Z-clips or elongated pocket holes ensures the top remains flat and does not crack during seasonal humidity shifts. The intersection of the mitered corners on the apron provides the necessary rigid surface for the angled leg plates to bite into the wood fibers securely.
Step-by-Step Instructions
Phase 1: Stock Preparation and Milling
Begin by selecting the clearest boards for your tabletop, ensuring there is no significant bowing or cupping. Cut your 4/4 hardwood to the final dimensions of 24 inches by 48 inches using a table saw or track saw for perfectly straight edges. If you are joining multiple boards to create the top, use wood glue and clamps, ensuring the grain patterns flow together for a seamless look. Let the tabletop assembly cure for at least four hours before removing the clamps and scraping away any dried glue squeeze-out.
Phase 2: Cutting the Aprons
The apron pieces provide the skeletal structure of the table and must be cut with absolute precision. Measure and cut your two long aprons to 40 inches and your two short aprons to 16 inches. Ensure that the ends are cut at 90-degree angles unless you prefer mitered corners for a more hidden joint. A mitered corner offers a cleaner look but requires more skill to align; for most builders, a butt joint reinforced with pocket holes is sufficient and hidden from view.
Phase 3: Drilling Pocket Holes
Set your pocket hole jig for 3/4 inch material thickness to match the apron stock. Drill two pocket holes into each end of the short apron pieces on the interior-facing side. Additionally, drill pocket holes along the top edge of all four apron pieces every 8 inches. These upward-facing holes will eventually be used to secure the apron assembly to the underside of the tabletop. Always double-check your jig settings to avoid blowing through the face of the wood.
Phase 4: Assembling the Frame
Apply a thin, even bead of wood glue to the ends of the short aprons. Align them with the long aprons to form a rectangular frame that measures 17.5 inches by 41.5 inches. Use corner clamps to hold the assembly at a perfect 90-degree angle while you drive the 1-1/4 inch screws. Wipe away any excess glue immediately with a damp cloth, as dried glue will block stain absorption and leave visible marks later.
Phase 5: Creating the Tapered Legs
The legs are the defining feature of this project and require a tapering jig on a table saw or a steady hand with a bandsaw. Starting 2 inches down from the top of the leg, taper the 2×2 blank so it narrows from 1.5 inches at the top to 3/4 inch at the floor. Perform this taper on the two interior-facing sides of each leg to maintain a vertical exterior profile while achieving the “thinning” look. Sand each leg thoroughly starting with 80-grit and working up to 180-grit to remove all saw marks.
Phase 6: Installing Leg Hardware
Turn your apron frame upside down and mark the locations for the angled mounting plates in each of the four corners. Position the plates so that the legs will splay outward toward the corners of the table at a 10-degree angle. Use the provided screws to secure the plates into the corners of the apron and the underside of the tabletop. Ensure the screws are long enough to provide a mechanical bond but short enough that they do not pierce the top surface.
Phase 7: Attachment of the Tabletop
Center the apron frame on the underside of the tabletop, leaving a 2-inch overhang on all sides. Drive the pocket hole screws through the apron and into the tabletop, being careful not to over-tighten, which could strip the wood. Pro-Tip: To ensure maximum structural integrity and prevent wood splitting, always use fine-thread screws for hardwoods and pre-drill a small pilot hole even when using self-tapping pocket screws. This small step creates a much stronger mechanical bond and prevents the wood from under-stressing during heavy use.
Phase 8: Sanding and Surface Prep
Successful finishing is 90 percent preparation, so take your time with the sanding process. Use a random orbital sander to smooth the tabletop, moving through 120, 150, 180, and finally 220-grit sandpaper. Vacuum the dust between each grit change and wipe the wood down with a tack cloth or mineral spirits to reveal any hidden scratches. The surface should feel like glass to the touch before any liquid finish is applied to the wood.
Phase 9: Applying the Finish
Apply your chosen finish in a dust-free environment using a high-quality brush or a lint-free cloth. If using Danish oil, flood the surface and allow it to penetrate for 15 minutes before wiping away the excess. For polyurethane, apply thin, even coats and lightly sand with 320-grit paper between applications to remove any dust nibs. Three coats of finish are usually sufficient to provide a durable moisture barrier and a rich, professional luster.
Phase 10: Final Assembly and Leveling
Once the finish has cured for at least 24 hours, screw the tapered legs into the mounting plates until they are hand-tight. Flip the table onto a flat, level floor to check for any wobbles. If the table is uneven, you can subtly sand the bottom of the longest leg or add felt pads to the feet to compensate. Your Mid-Century Modern coffee table is now complete and ready to serve as the centerpiece of your home.
Common Mistakes
One frequent error is failing to account for wood movement, which can lead to the tabletop warping or cracking over time. If you screw the top too tightly to the frame without allowing for seasonal expansion, the internal stresses will eventually damage the wood.
Another mistake is inconsistent sanding, especially on the tapered legs where saw marks are highly visible under a dark stain. Many builders rush this phase and end up with “pig tails” or swirl marks that only become apparent once the final finish is applied.
Finally, many DIYers choose the wrong hardware for the leg attachment. Using cheap, thin mounting plates can result in a table that feels unstable or “bouncy” when weight is applied to the center or edges.
Maintenance and Safety
To maintain the beauty of your hardwood table, avoid placing it in direct sunlight, which can cause the wood to fade or the finish to become brittle. Use coasters for drinks to prevent water rings and wipe up any spills immediately with a soft, dry cloth. Re-applying a fresh coat of wax or oil once a year will keep the wood hydrated and looking new for decades.
Safety is paramount in the workshop, so always wear wrap-around safety glasses and hearing protection when operating power saws. When sanding or applying finishes, ensure the room is well-ventilated or wear a P100 respirator to avoid inhaling fine dust and VOC fumes. Always disconnect power tools when changing blades or bits to prevent accidental activation and potential injury.