
How to Build a Modern Slatted Outdoor Sofa for a Professional Deck Upgrade
Creating a custom piece of outdoor furniture is one of the most rewarding projects a homeowner can undertake for their property. A slatted outdoor sofa provides more than just a place to sit; it serves as a structural focal point for any deck or patio.
This specific design focuses on the marriage of modern aesthetics and long-term durability. By utilizing premium hardwoods and precise slat spacing, you create an architectural element that significantly increases the perceived value of your outdoor living area.
The slatted design is not merely an aesthetic choice, as it allows for superior airflow and moisture drainage. These factors are critical for preventing rot and ensuring that your cushions remain dry and mildew-free throughout the changing seasons.
Quick Specs
Overall Dimensions: 84 Inches Width x 30 Inches Depth x 28 Inches Height.
Estimated Cost: 450 to 800 Dollars depending on lumber species selection.
Difficulty Level: Intermediate.
Estimated Build Time: 12 to 16 hours excluding finishing and drying times.
Materials and Tools
For this build, you will need high-quality lumber that can withstand the elements. We recommend using either A-grade Teak for its natural oils or Western Red Cedar for its lightweight rot resistance.
Lumber List:
Six 2×4 boards at 8 feet long for the main frame.
Four 4×4 posts at 8 feet long for the legs and armrest supports.
Twelve 1×4 boards at 8 feet long for the seat and back slats.
Two 2×6 boards at 8 feet long for the heavy-duty seat stretchers.
Hardware and Supplies:
One box of 2.5-inch stainless steel trim-head screws.
One bottle of waterproof Titebond III wood glue.
Eight 4-inch structural lag bolts for the primary leg-to-frame connections.
Sandpaper in 80, 120, and 220 grits.
High-quality exterior grade wood sealer or Teak oil.
Required Tools:
Miter saw for precise crosscuts.
Table saw for ripping slats to custom widths.
Power drill and impact driver set.
Random orbital sander.
Kreg pocket hole jig (optional but recommended for hidden joinery).
Speed square and 48-inch level.
Clamps of various sizes, preferably at least 36 inches in length.
| Material Feature | Stainless Steel Screws | Galvanized Screws |
|---|---|---|
| Corrosion Resistance | Exceptional (Saltwater Grade) | Moderate (Standard Outdoor) |
| Visual Appearance | Stays bright and silver | Dulls to a matte grey |
| Structural Shear | High | Medium |
| Cost | Higher Investment | Budget Friendly |
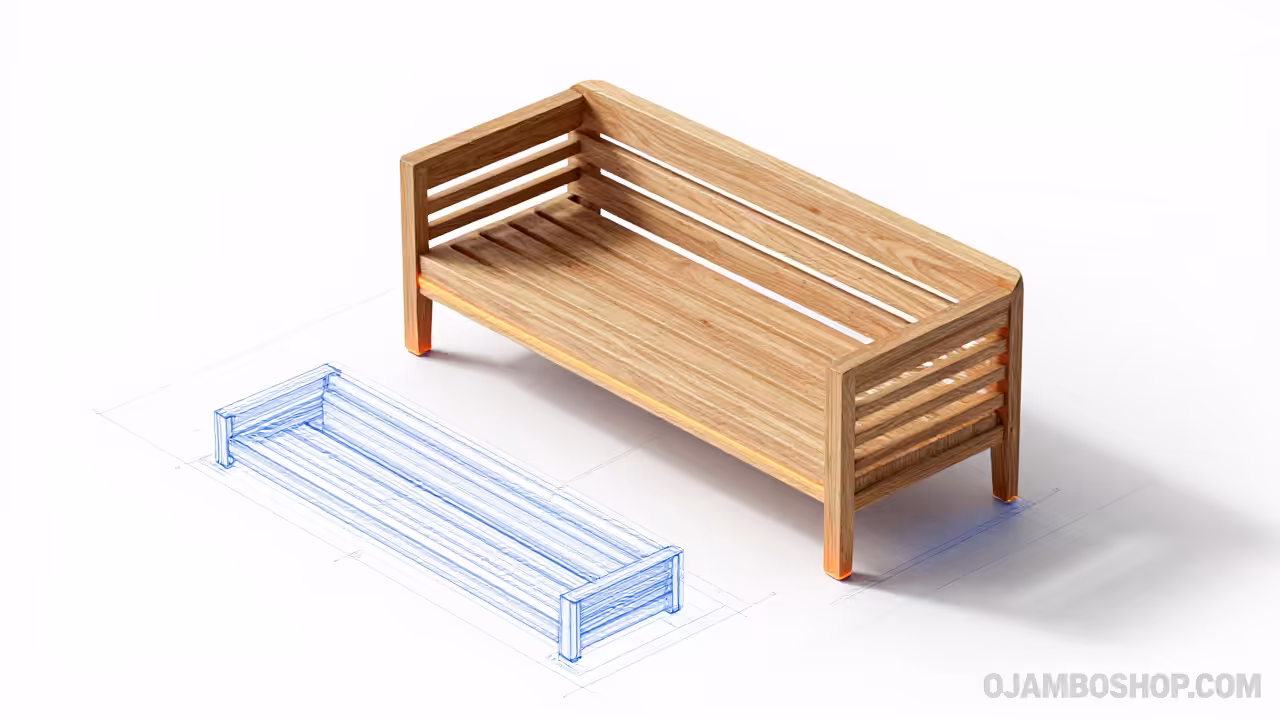
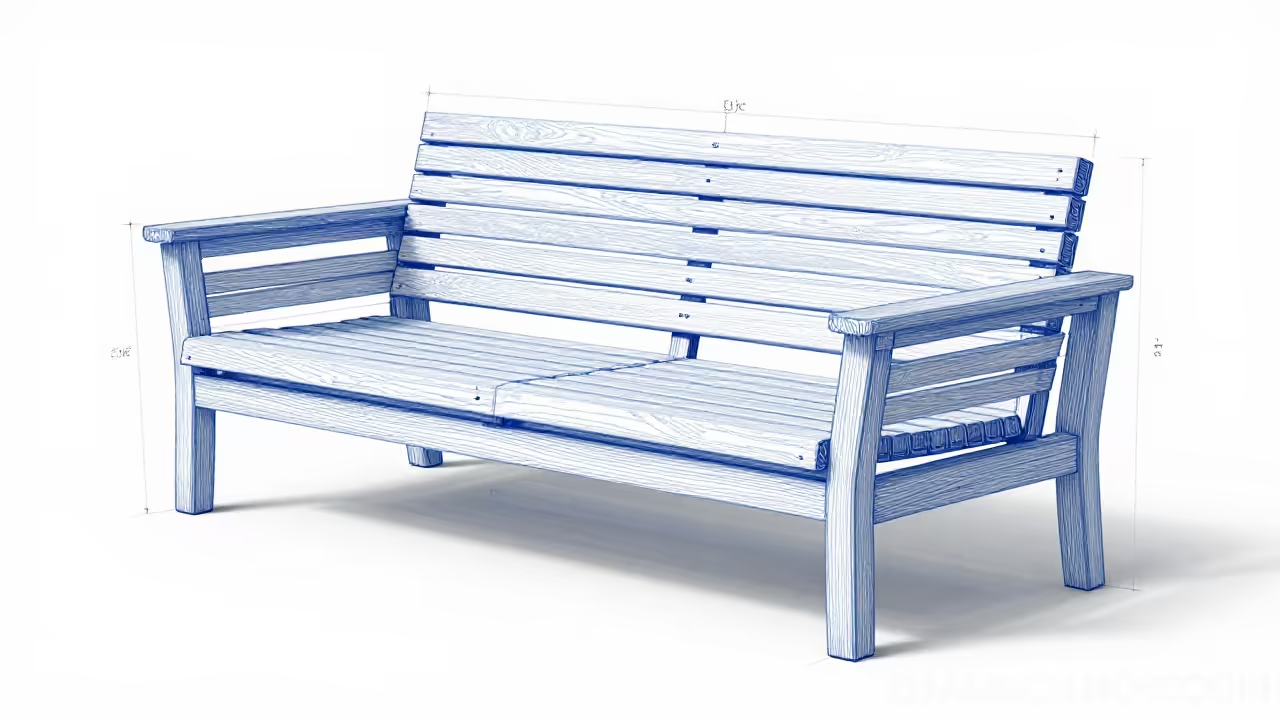
Technical Layout
The structural integrity of this slatted sofa relies on a robust box-frame foundation supported by integrated 4×4 legs. We utilize a 5-degree pitch on the seat frame to ensure ergonomic comfort, which prevents the user from feeling as though they are sliding forward. The load-bearing stretchers are inset into the legs using half-lap joints or heavy-duty pocket joinery to transfer weight directly through the vertical grain of the posts.
By staggering the slats with a consistent 0.5-inch gap, we create a diaphragm effect that adds lateral stability to the entire unit. The backrest is angled at 15 degrees, which is the industry standard for relaxed outdoor seating. This angle is achieved by cutting a corresponding bevel on the rear leg extensions where they meet the upper back rail. Stress points are reinforced with waterproof adhesive and stainless steel fasteners to counteract the natural expansion and contraction of the wood fibers.
Step-by-Step Instructions
Phase 1: Milling and Component Preparation
Begin by crosscutting all your 4×4 and 2×4 components to the exact lengths specified in your cut list. Use a stop block on your miter saw to ensure that the four legs are identical to within a thirty-second of an inch. Square up any rounded edges on your 2×4 frame members using a table saw to ensure tight, professional-looking joints during assembly.
Phase 2: Constructing the Side Frames
Lay out the front and back legs for one side of the sofa on a flat work surface. Connect them using the 30-inch side rails, ensuring the seat height is set at approximately 12 inches from the ground before cushions. Use a speed square to keep the assembly perfectly perpendicular unless you are cutting the specific 15-degree rake for the backrest at this stage.
Phase 3: Building the Main Seat Box
Connect the two finished side frames with the long 84-inch front and rear stretchers. This is the most critical stage for ensuring the sofa sits level on your patio or deck. Use long clamps to hold the stretchers in place while you pre-drill and drive your structural lag bolts into the 4×4 leg posts.
Phase 4: Installing the Center Support Ribs
To prevent the seat slats from sagging over the 7-foot span, you must install at least two center support ribs. These 2×4 members should be spaced evenly at the 28-inch and 56-inch marks along the interior of the seat frame. Secure them using pocket holes or heavy-duty corner brackets to ensure the middle of the sofa can support multiple adults.
Phase 5: Cutting the Backrest Supports
Measure and cut the vertical backrest supports, ensuring they are tall enough to accommodate your chosen outdoor cushions. If you prefer a reclined feel, cut the bottom of these supports at a 15-degree angle where they attach to the seat frame. Check for symmetry between the left and right sides before moving on to the slat installation.
Phase 6: Laying the Seat Slats
Start from the front of the sofa and work your way toward the back when installing the 1×4 seat slats. Use a 0.5-inch plywood spacer between each board to maintain a perfectly consistent gap for drainage and airflow. Pre-drill every hole to prevent the hardwood from splitting, especially near the ends of the boards where the grain is most vulnerable.
Phase 7: Attaching the Backrest Slats
Align the backrest slats with the seat slats for a clean, continuous line that defines the modern aesthetic. Ensure the top slat is flush with the top of the vertical supports to provide a finished look that feels intentional and high-end. Use two screws per contact point to prevent the slats from cupping over time as they are exposed to direct sunlight.
Phase 8: Final Sanding and Edge Routing
Once the assembly is complete, use a router with a 1/8-inch round-over bit to soften all exposed edges. This prevents splinters and makes the furniture much more comfortable for the user’s skin. Progress through your sandpaper grits from 80 up to 220, making sure to remove all mill marks and pencil lines from the wood surface.
Pro-Tip for Longevity
When working with Teak or Cedar, the end grain acts like a series of straws that will wick moisture up into the wood. To significantly extend the life of your sofa, apply a thick coat of epoxy or specialized end-grain sealer to the bottom of the legs. This creates a permanent moisture barrier between the ground and the wood fibers, preventing the common issue of leg rot in outdoor furniture.
Common Mistakes
Many builders forget to account for the thickness of their cushions when determining the final height of the seat frame. If you use 6-inch thick cushions on a 17-inch high frame, the sofa will feel uncomfortably tall for most users. Always subtract the cushion thickness from your desired finished seat height before you begin cutting your leg posts.
Another frequent error is skipping the pre-drilling process when working with stainless steel fasteners and hardwoods. Stainless steel is softer than carbon steel and will often snap if it encounters too much resistance in a dense wood like Teak. Always use a countersink bit that matches the diameter of your screw shank to ensure a clean and secure installation.
Failure to use waterproof glue is a mistake that usually manifests after the first rainy season. Standard interior wood glue will dissolve when exposed to constant moisture, leaving only the screws to hold the structural weight. Ensure your adhesive is rated for “ANSI/HPVA Type I” water resistance to maintain the integrity of your joinery for many years.
Maintenance and Safety
Working with large lumber and power tools requires constant attention to safety protocols and personal protective equipment. Always wear impact-resistant safety glasses and a high-quality dust mask, especially when sanding Teak as its natural oils can be an irritant. Keep your workspace clear of offcuts and sawdust to prevent tripping hazards during the heavy assembly phases.
To maintain the golden-brown look of Teak, you must apply a UV-rated sealer or Teak oil at least once every year. If left untreated, both Teak and Cedar will eventually weather to a silvery-grey patina which some homeowners prefer for a rustic look. Regardless of the aesthetic choice, cleaning the wood with a mild soap and soft brush annually will prevent the buildup of organic matter.
During the winter months or periods of heavy rain, we recommend covering your sofa with a breathable furniture cover. While the wood itself is highly resistant to decay, protecting it from standing water and snow will prevent the hardware from unnecessary stress. Proper care ensures that your handcrafted slatted sofa remains a staple of your outdoor living space for decades to come.