
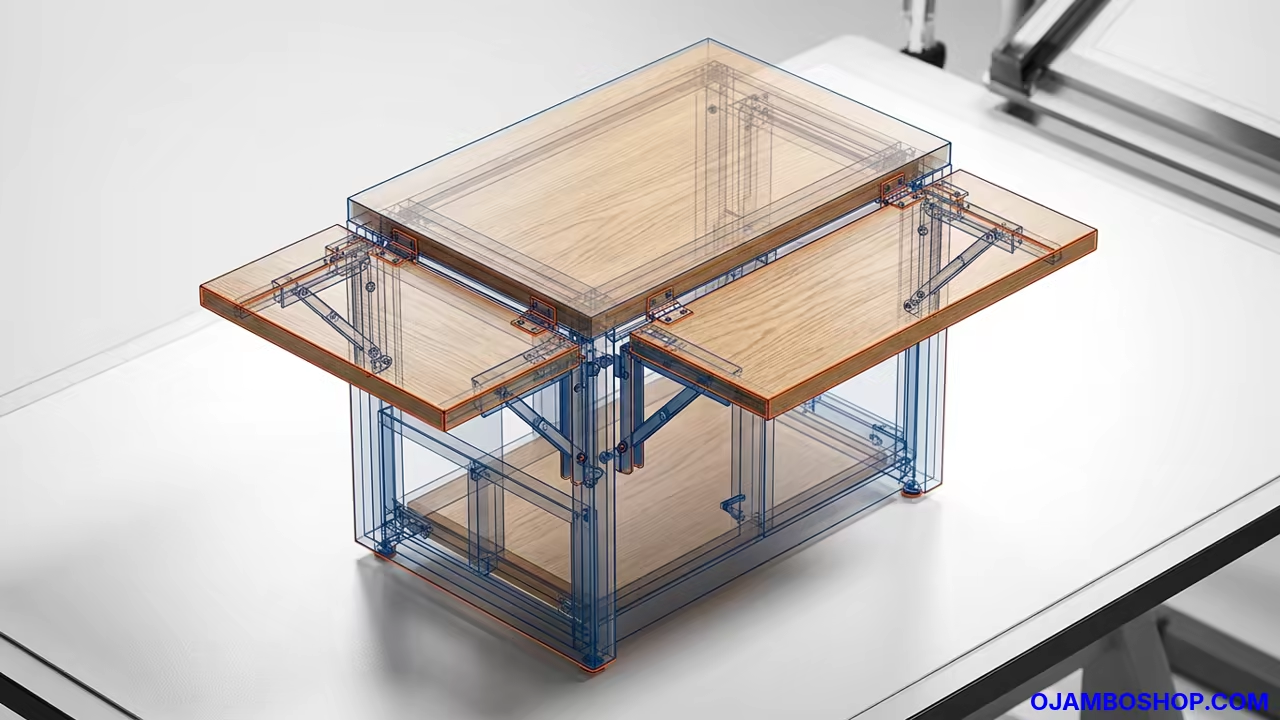
Modern Space Saving Kitchen Breakfast Bar Blueprint
Modern homeowners often struggle with the limitations of small kitchen footprints in urban environments. The addition of a wall mounted drop leaf breakfast bar provides a sophisticated solution for those seeking extra prep space.
This project adds immediate utility to a room by creating a versatile surface that disappears when not in use. A well executed folding table increases the overall property value by optimizing unused vertical wall space.
It transforms a narrow corridor or a dead wall into a functional dining area for two to three people. This project balances aesthetic appeal with structural necessity to ensure a safe and durable installation.
Quick Specs
Overall Dimensions are 48 inches length by 18 inches depth by 36 inches height. Estimated Cost is 150 to 300 dollars depending on lumber selection.
Difficulty Level is Intermediate. Estimated Build Time is 12 to 16 hours over one weekend.
Disclaimer: I may earn a commission from purchases made through these links at no extra cost to you.


Materials and Tools
The primary surface requires one 4 foot by 2 foot slab of 1.5 inch thick hardwood like White Oak or Maple. You will need two heavy duty folding steel brackets rated for at least 300 pounds.
Secure the assembly using 3 inch lag screws for the wall and 1.25 inch wood screws for the tabletop. A small bottle of high strength wood glue and a pack of 1.25 inch pocket hole screws are essential.
You should also acquire a variety of sandpaper grits ranging from 80 to 220 for a professional finish. A food safe polyurethane or mineral oil finish will protect the wood from kitchen moisture and stains.
For tools you will need a circular saw or table saw for precise straight cuts. A cordless drill and driver set with a variety of bits is mandatory for all assembly.
Use a stud finder to locate the internal framing of your walls for secure mounting. A speed square and a 4 foot level ensure that the table remains perfectly horizontal.
You will also need a Kreg jig for creating strong hidden joints in the support frame. A random orbit sander will significantly reduce the time spent preparing the wood surface.
Technical Layout
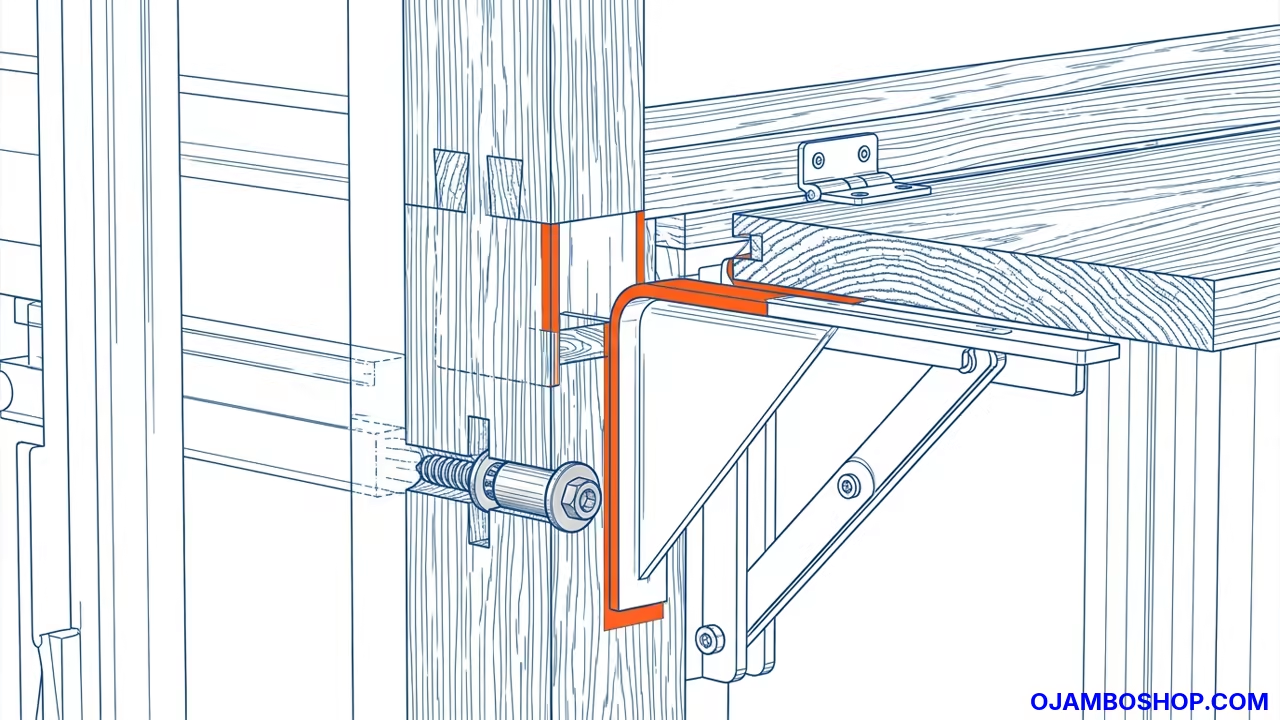
The structural integrity of a drop leaf table depends entirely on the leverage exerted on the wall connection. Because the table extends 18 inches from the wall it creates a significant rotational force when weighted.
The folding brackets act as the primary fulcrum and must be anchored directly into the center of the wall studs. Using lag screws instead of standard drywall screws prevents the assembly from pulling away from the wall over time.
The distance between the two brackets should be approximately 32 inches to distribute the load evenly across the wood slab. This spacing prevents the hardwood from sagging in the middle while maintaining stability at the edges.
The tabletop thickness of 1.5 inches is critical for preventing warping under its own weight. A thinner board would require additional support ribs underneath which would interfere with the folding mechanism.
By utilizing a thick slab you maintain a clean minimalist profile while ensuring a rigid surface. The height of 36 inches is the industry standard for counter height surfaces.
This allows the user to sit comfortably on a bar stool while maintaining an ergonomic posture for food preparation. Ensure the mounting plate is perfectly level to avoid the table tilting during use.
Step by Step Instructions
Phase 1 involves the selection and preparation of your hardwood slab. Check your lumber for any significant bows or twists before making your final cuts. Use a table saw to trim the board to exactly 48 inches in length and 18 inches in width.
Ensure the edges are perfectly square to avoid gaps during the mounting process. Phase 2 focuses on the surface preparation and sanding of the wood. Start with 80 grit sandpaper to remove any factory stamps or rough patches from the timber.
Progress to 120 grit and finally 220 grit to achieve a buttery smooth texture. Wipe the surface clean with a tack cloth to remove all residual dust particles.
Phase 3 requires the precise location of your wall studs using a electronic stud finder. Mark the center of each stud with a pencil at the desired height of 36 inches. It is vital that the brackets are placed on separate studs to maximize the load capacity.
Double check the marks with a level to ensure the horizontal alignment is flawless. Phase 4 consists of drilling pilot holes into the wall studs to prevent the wood from splitting.
Use a drill bit that is slightly smaller than the diameter of your lag screws. Drive the lag screws into the wall using a socket wrench for maximum torque. Ensure the screw heads are flush against the bracket base for a secure fit.
Phase 5 involves the installation of the heavy duty folding brackets onto the prepared wall. Position the brackets exactly 32 inches apart to provide balanced support for the tabletop.
Tighten the fasteners until the brackets are immobile and do not wiggle when pressure is applied. Test the folding mechanism to ensure it opens and closes smoothly.
Phase 6 focuses on the attachment of the hardwood tabletop to the brackets. Place the slab on top of the extended brackets and align the edges perfectly with the wall.
Use a speed square to ensure the board is perpendicular to the wall surface. Drive 1.25 inch wood screws through the bracket holes and into the underside of the wood.
Phase 7 involves the detail work including edge banding or rounding over the sharp corners. Use a router or a sanding block to create a slight radius on the front and side edges.
This prevents the edges from feeling sharp to the touch during daily use. Ensure the radius is consistent across all three exposed edges of the table.
Phase 8 is the application of the protective finish to the wood surface. Apply a thin coat of polyurethane using a high quality synthetic brush or a lint free cloth.
Allow the finish to dry completely before lightly sanding with 320 grit sandpaper. Repeat this process for three coats to build a durable moisture barrier for the kitchen.
Phase 9 requires a final load test to ensure the stability of the assembly. Place a moderate weight on the table and observe the connection points for any signs of movement.
Tighten any loose screws and verify that the table locks securely in the open position. Clear all tools from the area to finalize the installation.
Hardware Comparison
| Parameter | Description | Value |
|---|---|---|
| Folding Steel Bracket | Load Capacity | 300 lbs per pair |
| Heavy Duty L Bracket | Load Capacity | 150 lbs per pair |
| Pivot Hinge | Load Capacity | 75 lbs per pair |
| Wall Anchors | Load Capacity | 50 lbs per set |
| Parameter | Description | Value |
Common Mistakes
One frequent error is relying on drywall anchors instead of structural wall studs for the brackets. Drywall anchors cannot support the leverage of a breakfast bar and will eventually fail under load.
Always ensure your lag screws penetrate at least two inches into the solid wood framing. Another common mistake is failing to drill pilot holes before driving screws into hardwood.
Hardwoods like White Oak are prone to splitting if a screw is forced in without a pre drilled path. This can ruin a beautiful slab of wood in a matter of seconds.
Many builders also forget to account for the thickness of the wall finish when measuring. If you have thick tile or paneling on the wall the brackets may not sit flush.
Use spacers or shims to ensure the bracket base is perfectly flat against the wall surface.
Maintenance and Safety
Professional wood treatment is essential for any surface located in a kitchen environment. Reapply a fresh coat of polyurethane every two years to prevent water rings and grease penetration.
Clean the surface with a damp cloth and mild soap rather than harsh chemical cleaners. Always wear safety glasses and a dust mask when operating the table saw or sander.
Use a stable workbench to prevent the lumber from shifting during the cutting process. Keep fingers well away from the saw blade by using a push stick for all narrow cuts.
Check the tightness of the wall fasteners every six months to account for natural wood shrinkage. If the table begins to wobble simply tighten the lag screws with a wrench.
Ensure that the folding mechanism remains lubricated with a small amount of silicone spray if it becomes stiff.