
Disclosure: article includes affiliate links.

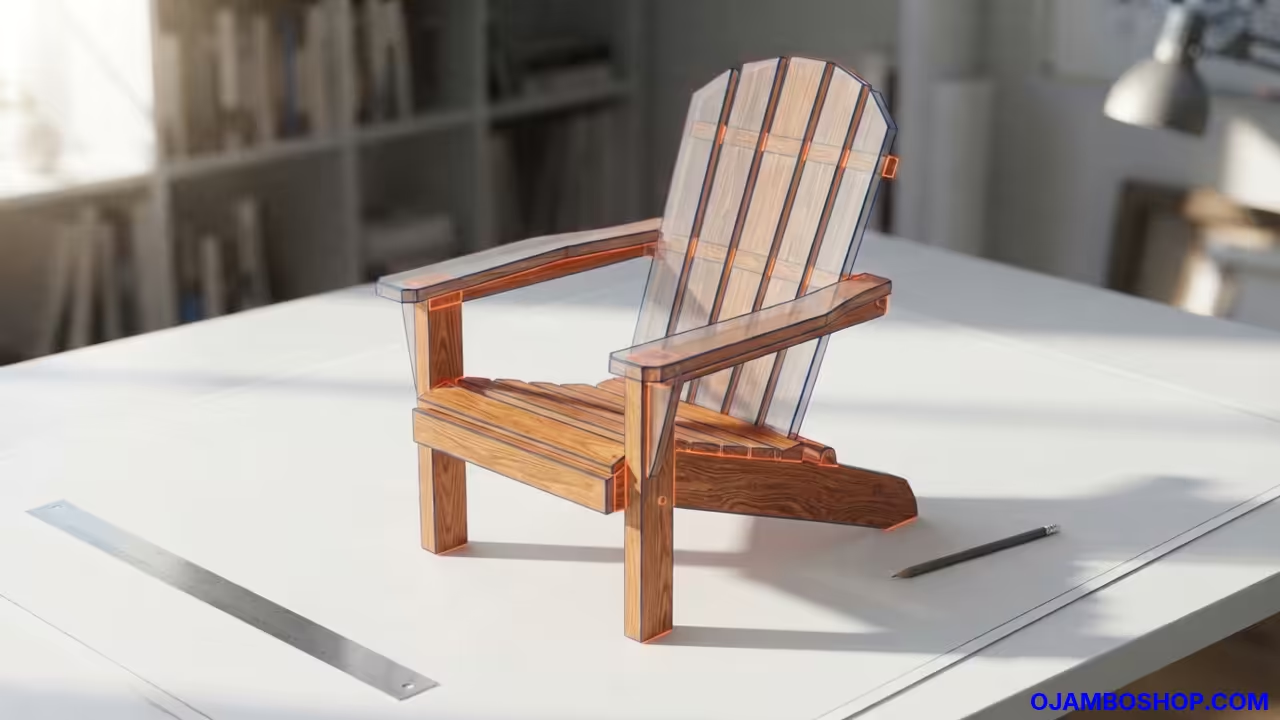
The Adirondack chair stands as a timeless symbol of relaxed outdoor living. This iconic piece of furniture combines rugged durability with a slouched ergonomic profile that encourages hours of leisure.
Building your own version allows for complete customization of materials and finish while ensuring a perfect fit for your patio or deck. The structural simplicity of the design belies the importance of precise geometry in achieving both stability and comfort.
Quick Specs
The standard Adirondack chair design prioritizes a low center of gravity and a wide stance. This configuration ensures the chair remains stable even when a user leans back fully.
The dimensions are optimized for the average adult while maintaining a compact footprint for smaller outdoor spaces.
| Parameter | Description | Value |
|---|---|---|
| Overall Height | Vertical measurement from ground to top of back | 35 inches |
| Overall Width | Horizontal measurement including armrests | 29 inches |
| Overall Depth | Front to back measurement | 35 inches |
| Seat Height | Height of seat from ground | 15 inches |
| Back Angle | Angle of backrest relative to seat | 135 degrees |
| Estimated Cost | Material cost range | $80 to $120 |
| Difficulty Level | Skill requirement | Intermediate |
| Estimated Build Time | Time to complete | 6 to 8 hours |
| Parameter | Description | Value |
Materials & Tools
Selecting the right lumber is critical for outdoor furniture longevity. Cedar and Redwood are top choices due to their natural resistance to rot and insects.
Pressure-treated pine is a budget-friendly alternative but requires more sealing. The hardware must be rust-resistant to withstand moisture exposure.
Lumber List
- Five 1x6x8 boards for the seat and back slats
- Two 2x6x8 boards for the front legs and armrests
- Two 2x4x8 boards for the rear legs and arm supports
- One 1x4x8 board for the top armrest rail
- One 1x2x8 board for the seat support rail
Hardware List
- Two hundred 3-inch exterior wood screws
- One hundred 2-inch exterior wood screws
- One quart exterior wood finish or stain
- Sandpaper in 80, 120, and 220 grits
Tools Required
- Circular saw or miter saw for precise cuts
- Drill/driver with clutch control
- Speed square for marking angles
- Clamps for holding assemblies
- Orbital sander for smoothing surfaces
- Measuring tape and pencil
Technical Layout
The structural integrity of the Adirondack chair relies on the precise angle of the rear legs and the connection of the armrests to the front legs. The rear legs are cut at a 20-degree angle at the top and bottom to create the signature slouch.
This angle distributes the user’s weight effectively to the ground. The front legs remain vertical, providing a stable base for the seat. The armrests connect the front and back structures, adding rigidity to the frame.
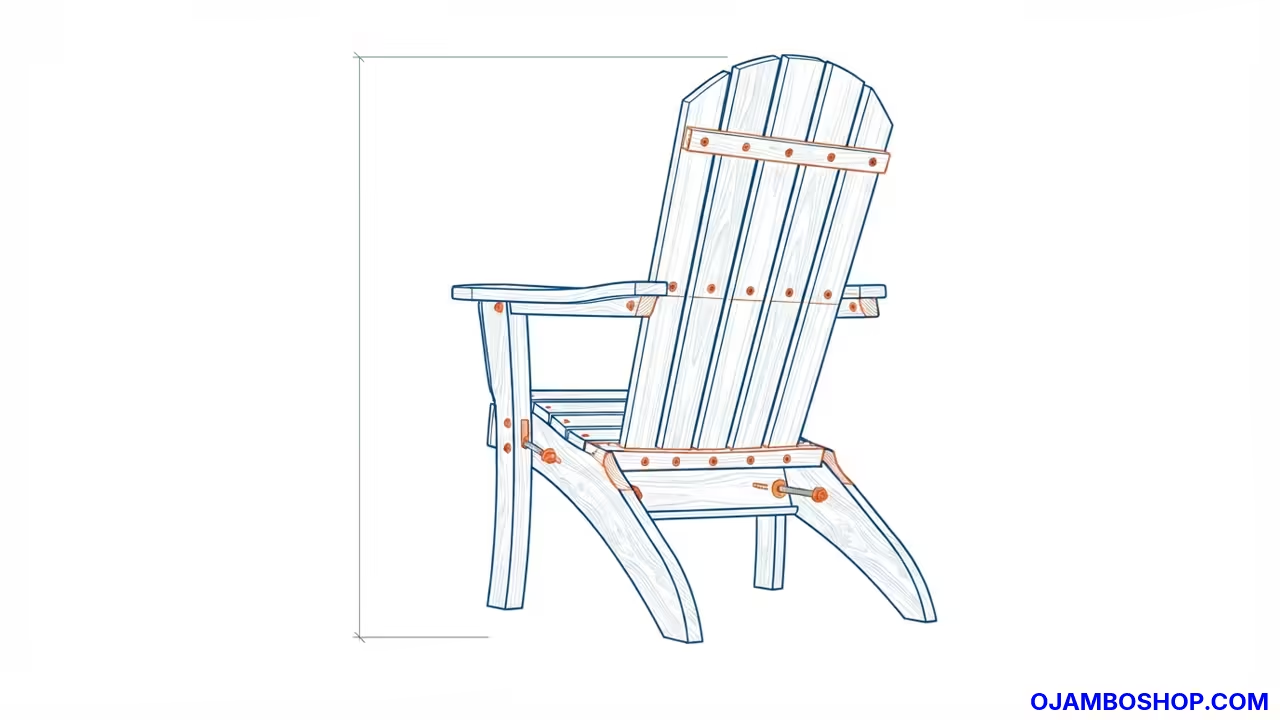
The seat slats are attached to the front and rear leg assemblies with a slight downward slope. This slope, typically 3 to 5 degrees, ensures water drains off the seat rather than pooling.
The back slats are spaced evenly to provide support while allowing airflow. The spacing is usually determined by the width of the lumber minus a small gap. Using exterior-grade screws prevents rust stains from bleeding through the finish. The joinery is simple but requires careful alignment to ensure the chair sits flat.
Step-by-Step Instructions
Phase 1: Cutting the Rear Legs
Measure and mark the 2×4 boards for the rear legs. Cut a 20-degree angle at the top and bottom of each board. The length should be approximately 33 inches. These angles are critical for the chair’s ergonomics. Ensure both legs are identical by using a template.
Phase 2: Cutting the Front Legs
Cut the 2×6 boards for the front legs. The bottom should be cut at a 90-degree angle. The top should be cut at a 10-degree angle to match the armrest slope. The length is approximately 19 inches. These legs support the front of the seat and the armrests.
Phase 3: Constructing the Side Assemblies
Attach the armrest supports to the front and rear legs. The armrest support is a 2×4 cut at a 10-degree angle. This creates the side frame of the chair. Use clamps to hold the pieces together before screwing. Ensure the assembly is square and the angles are correct.
Phase 4: Attaching the Seat Slats
Lay the side assemblies on the ground with the legs pointing up. Place the 1×6 seat slats across the front and rear legs. The slats should be flush with the front of the front legs. Screw the slats into the legs from the bottom up. This prevents screw heads from being visible on the seat.
Phase 5: Attaching the Back Slats
Attach the back slats to the rear legs. Start from the bottom and work your way up. The bottom slat should be flush with the seat. Space the slats evenly using scrap wood as spacers. The top slat should be angled to match the backrest slope.
Phase 6: Installing the Armrests
Cut the 1×4 boards for the top armrests. These boards connect the two side assemblies. The ends should be cut at a 10-degree angle to match the armrest supports. Screw the armrests into the supports from the top down. Ensure the armrests are level and parallel.
Phase 7: Sanding and Finishing
Sand all surfaces of the chair with 80-grit sandpaper to remove rough edges. Follow with 120-grit and then 220-grit for a smooth finish. Apply a coat of exterior wood finish or stain. Allow the finish to dry completely before use. This protects the wood from moisture and UV damage.
Common Mistakes
Many builders struggle with the angles of the rear legs. Incorrect angles result in a chair that does not sit flat or feels unstable. Always double-check your miter saw settings before cutting. Another common error is using indoor screws. These will rust and stain the wood. Always use exterior-grade stainless steel or coated screws.
Misaligning the seat slats can cause discomfort and structural weakness. Ensure the slats are flush with the front legs and spaced evenly. Failing to sand the wood thoroughly leads to a rough finish and poor stain absorption. Take the time to sand between coats of finish for the best result.
Maintenance & Safety
Regular maintenance extends the life of your Adirondack chair. Inspect the chair annually for loose screws or cracked wood. Tighten any loose hardware and replace damaged slats. Apply a fresh coat of finish every two years to protect the wood. Store the chair in a dry place during harsh winters or cover it with a waterproof cover.
Safety is paramount during the build process. Wear safety glasses when cutting and sanding wood. Use hearing protection when operating power tools. Ensure your work area is well-ventilated when applying finishes. Keep flammable materials away from open flames or sparks.