
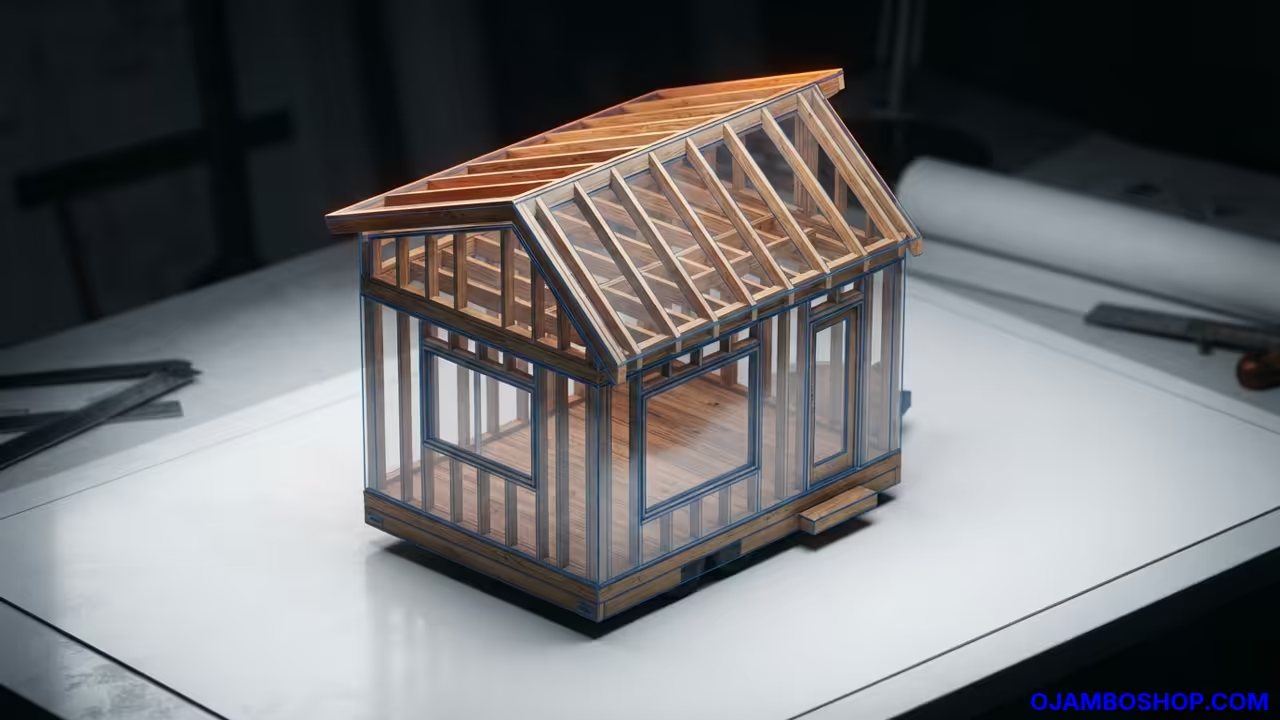
A modular tiny house shell provides the ultimate foundation for a customized living space. This structure allows owners to focus their budget on interior finishes and high end appliances. Adding a professional shell to a property instantly increases its utility and overall market value.
Quick Specs
Dimensions: 10 feet by 30 feet. Estimated Cost: 20000 USD. Difficulty level: Advanced. Estimated build time: Five weeks.
Disclaimer: I may earn a commission from purchases made through these links at no extra cost to you.


Materials and Tools
The primary framing requires high grade 2×6 spruce kiln dried lumber for all wall studs. Floor joists must be 2×8 pressure treated lumber to resist ground moisture and pests.
Sheathing requires 3/4 inch tongue and groove OSB for the floor and 1/2 inch for walls. Fasteners should include 3 inch and 3.5 inch galvanized nails for all structural connections.
Weatherproofing requires a smart vapor retarder house wrap and professional grade flashing tape. Required tools include a miter saw and a circular saw.
A pneumatic framing nailer and a laser level are essential. A heavy duty impact driver and a full set of framing squares ensure precision.
| Parameter | Description | Value |
|---|---|---|
| Wall Studs | Professional Grade | 2×6 Spruce |
| Floor Joists | Professional Grade | PT 2×8 |
| Subfloor | Professional Grade | T&G OSB |
| Sheathing | Professional Grade | 1/2 OSB |
| Fasteners | Professional Grade | Galvanized |
| Parameter | Description | Value |
Technical Layout
The structural integrity of this shell relies on a load bearing modular grid system. The floor frame utilizes 2×8 joists spaced exactly 16 inches on center for maximum rigidity.
Wall framing uses 2×6 studs to allow for deeper insulation and increased lateral stability. The roof system employs a shallow pitch design to balance runoff with structural wind resistance.
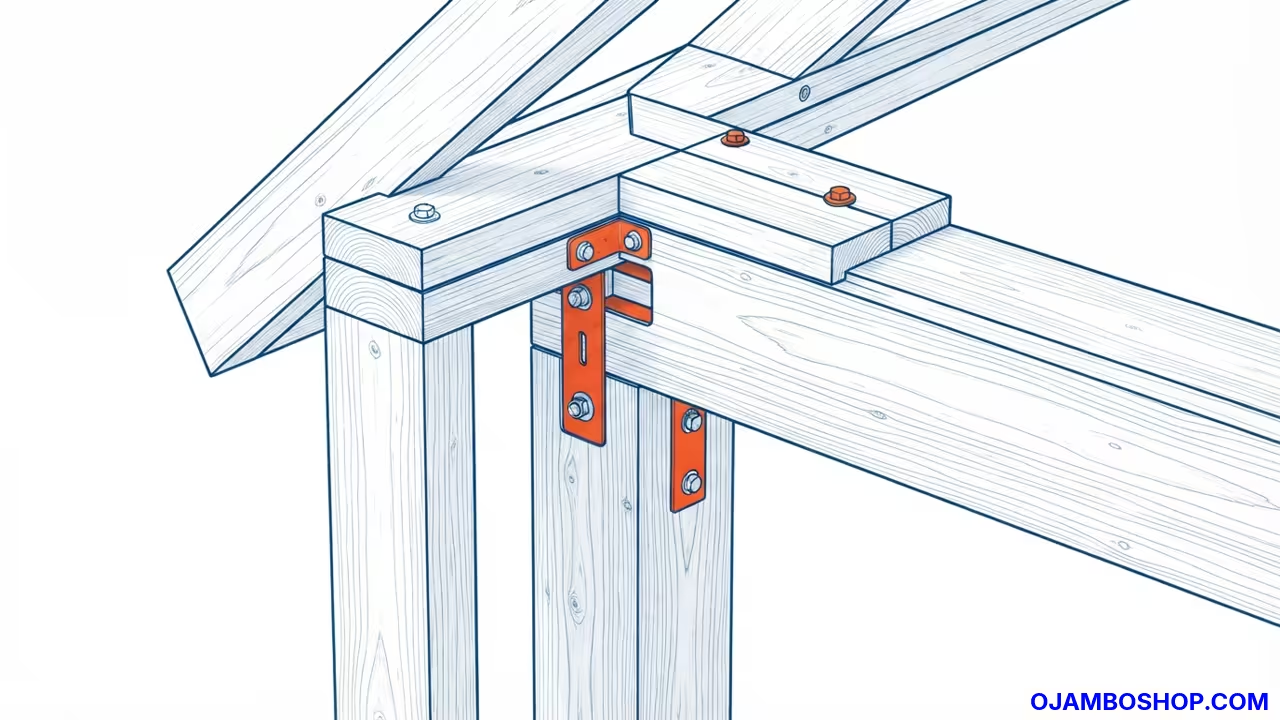
Every corner connection is reinforced with three ply rim joists to prevent racking during transport. This layout ensures that weight is distributed evenly across the foundation skids at all times.
The use of a double top plate allows for the seamless installation of roof rafters. Headers over window and door openings are sized to support the full roof load without sagging.
Step by Step Instructions
Phase 1 Foundation and Skid Assembly
Begin by leveling the build site using a laser level to ensure a flat surface. Place four 4×4 pressure treated skids parallel to the long axis of the house.
Fasten the skids using heavy duty anchor bolts to prevent shifting during the build process. Check the square of the skid layout by measuring the diagonals for an exact match.
This foundation provides the essential base that prevents the house from settling unevenly over time.
Phase 2 Floor Frame Construction
Layout the 2×8 pressure treated floor joists across the skids at 16 inch intervals. Secure the joists to the rim joists using 3 inch galvanized framing nails at every junction.
Install blocking between the joists every 8 feet to prevent the lumber from twisting. Verify that the entire floor frame remains perfectly square before moving to the next phase.
A rigid floor frame prevents the walls from leaning and ensures the shell stays true.
Phase 3 Subfloor Installation
Apply a bead of construction adhesive to the top of the floor joists before sheathing. Lay the 3/4 inch tongue and groove OSB sheets across the frame in a staggered pattern.
Fasten the sheets with 2 inch screws every 6 inches along the perimeter edges. Ensure that all seams are tightly locked together to create a solid monolithic surface.
A staggered subfloor increases the overall shear strength of the entire modular unit.
Phase 4 Wall Plate Layout
Cut the top and bottom plates for all four walls from 2×6 kiln dried lumber. Mark the stud locations every 16 inches on center on both the top and bottom plates.
Layout the rough openings for windows and doors based on the final architectural plan. Ensure that the door opening includes a double header for added vertical support.
Precise marking at this stage prevents cumulative errors that could ruin the roof fit.
Phase 5 Vertical Wall Framing
Erect the wall sections by nailing the vertical studs between the top and bottom plates. Plumb each wall using a level before nailing the bottom plate into the subfloor.
Install the headers over the window and door openings using 2×6 lumber on edge. Nail the double top plate across the wall junctions to tie the structure together.
This creates a rigid box that can withstand significant wind loads and structural stress.
Phase 6 Roof Rafter Installation
Calculate the roof pitch to ensure proper water runoff and structural symmetry for the shell. Cut the rafters with a birdsmouth notch to sit securely on the wall top plates.
Install the ridge board at the center and nail the rafters to the ridge and plates. Add collar ties in the upper third of the rafters to prevent the walls from spreading.
A properly tied roof system prevents the house from collapsing under heavy snow loads.
Phase 7 Exterior Sheathing
Apply 1/2 inch OSB sheathing to the exterior walls and the roof deck. Fasten the sheets using 8d nails spaced every 6 inches along the edges.
Leave a 1/8 inch gap between sheets to allow for natural wood expansion and contraction. Ensure that the sheathing overlaps the floor frame to create a continuous weather seal.
The sheathing transforms the skeletal frame into a rigid structural diaphragm for the house.
Phase 8 House Wrap and Flashing
Wrap the entire exterior in a smart vapor retarder house wrap to prevent moisture. Secure the wrap with cap nails and overlap every seam by at least six inches.
Apply professional grade flashing tape around all window and door rough openings. Integrate the house wrap with the roof drip edge to ensure water flows away.
This layer is the most critical defense against rot and mold inside the wall cavities.
Phase 9 Window and Door Rough Ins
Install the window and door frames into the rough openings according to the manufacturer specs. Use shims to ensure that the frames are perfectly plumb and square within the openings.
Apply expanding spray foam around the perimeter to create an airtight thermal seal. Fasten the frames using the recommended screws to ensure they stay secure during movement.
Tight seals at the openings prevent energy loss and keep the interior environment stable.
Common Mistakes
Builders often fail to square the floor frame which causes roof rafters to fit poorly. Many DIYers forget to use a moisture barrier on the bottom plates leading to early rot.
Using undersized headers for large window openings often results in structural sagging over time. Skipping the use of construction adhesive on the subfloor creates loud floor squeaks for years.
Maintenance and Safety
Treat all exterior wood with a high quality UV sealant every two years to prevent graying. Inspect roof flashing and sealants annually to prevent leaks during heavy rain or snow seasons.
Always wear safety goggles and steel toe boots when using pneumatic nailers or power saws. Ensure the workspace is clear of debris to prevent tripping hazards during the framing process.
Use a high quality respirator when cutting treated lumber or OSB to avoid inhaling dust. Use hot dipped galvanized fasteners and a capillary break at the skid contact points.