
The modern backyard requires versatility without sacrificing the aesthetic appeal of handcrafted timber. A convertible picnic table represents the pinnacle of functional outdoor design by offering two distinct pieces of furniture in a single footprint. This project transforms from a comfortable, deep-seated garden bench into a full-sized dining table with a simple fluid motion of the backrest.
Property owners value this design because it solves the perennial problem of seasonal storage and limited patio space. Whether you are hosting a summer barbecue or seeking a quiet corner for morning coffee, this flip-top mechanism provides the necessary adaptability. By following this professional guide, you will create a structural centerpiece that increases the utility and market value of your outdoor living area.
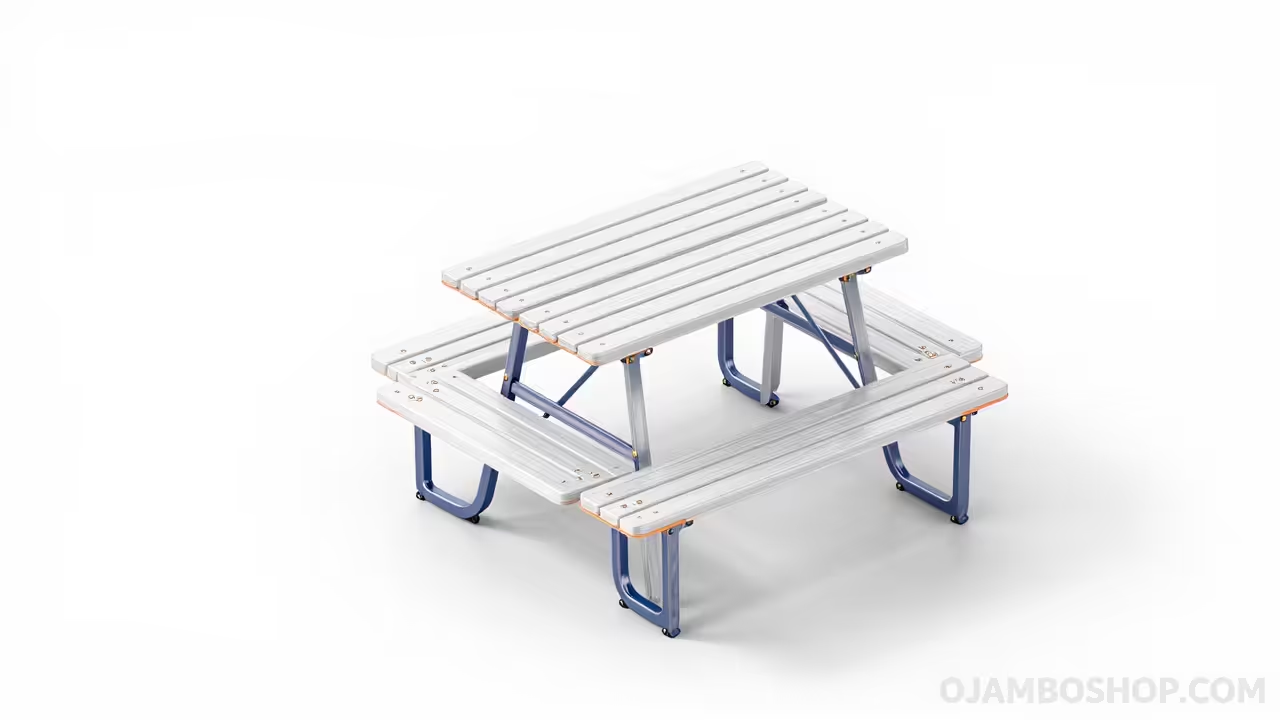
Quick Specs
Dimensions (Bench Mode): 60 Inches Wide x 30 Inches Deep x 34 Inches High
Dimensions (Table Mode): 60 Inches Wide x 58 Inches Deep x 30 Inches High
Estimated Cost: 120 to 180 Dollars (Depending on Lumber Grade)
Difficulty Level: Intermediate Woodworking
Estimated Build Time: 6 to 8 Hours
Materials and Tools
Building a structure that moves requires high-quality materials that can withstand both mechanical stress and environmental exposure. For this project, we recommend using pressure-treated pine or naturally rot-resistant cedar to ensure the pivot points do not degrade over time. The hardware selected must be rated for exterior use to prevent rust streaks and structural failure within the moving joints.
Lumber List:
– 5 pieces of 2×4 x 8-foot boards (Legs and Frame)
– 8 pieces of 2×6 x 8-foot boards (Seat and Tabletops)
– 1 piece of 2×2 x 8-foot board (Support Cleats)
Hardware List:
– 1 Box of 2.5-inch Exterior Grade Deck Screws
– 4 pieces of 3/8-inch x 4-inch Galvanized Carriage Bolts
– 8 pieces of 3/8-inch Galvanized Washers
– 4 pieces of 3/8-inch Galvanized Locking Nuts
– Waterproof Exterior Wood Glue
Required Tools:
– Miter Saw or Circular Saw
– Power Drill and Impact Driver
– 3/8-inch Drill Bit and Countersink Bit
– Speed Square and Tape Measure
– Orbital Sander with 80 and 120 Grit Paper
– Level and Clamps
| Hardware Type | Use Case | Durability Rating |
|---|---|---|
| Zinc Plated | Indoor Only | Low |
| Galvanized Steel | General Outdoor | High |
| Stainless Steel | Coastal / High Moisture | Superior |
| Ceramic Coated | Pressure Treated Wood | High |
Technical Layout
The structural integrity of a convertible table relies entirely on the geometry of the pivot arm and the distribution of weight across the primary leg frames. Unlike a static bench, the backrest of this unit doubles as a tabletop, meaning it must transition through a radius while maintaining a level horizontal plane at both terminal points. We utilize a dual-frame system where the seat remains stationary and the backrest is mounted on a secondary carriage.
To achieve a 90-degree transition that results in a perfectly flat table, the pivot holes must be drilled with absolute precision. We specify a pivot height of 28 inches from the ground to ensure the table surface sits at a standard dining height when fully extended. The load-bearing capacity is maintained through the use of carriage bolts which act as axles for the moving assembly. By offsetting the pivot point slightly toward the rear of the seat frame, we create a natural gravity lock that prevents the table from flipping back into a bench while in use. This mechanical advantage ensures that even when pressure is applied to the outer edge of the tabletop, the center of gravity remains securely between the base legs.

Step-by-Step Instructions
Step 1: Cutting the Main Leg Frames
Begin by cutting four identical legs from your 2×4 lumber at a length of 30 inches. Each leg requires a 15-degree miter cut on both ends to create the necessary splay for stability. This angle ensures the footprint of the bench is wider than the seat, preventing tipping during the transition phase. Measure twice to ensure that each pair of legs is perfectly mirrored for the left and right sides of the assembly.
Once the legs are cut, prepare the horizontal seat supports at 22 inches in length. These supports will bridge the gap between the front and back legs. Use your speed square to ensure the supports are perfectly level before driving your 2.5-inch deck screws. It is vital to pre-drill every hole in this phase to prevent the end grain of the 2x4s from splitting under pressure.
Step 2: Assembling the Seat Base
Connect the two leg frames using three 60-inch lengths of 2×6 timber which will form the primary seating surface. Space the boards with a 1/4-inch gap to allow for water drainage and natural wood expansion. The front board should overhang the leg frame by 1 inch to provide a comfortable edge for the back of the legs. Secure these boards using wood glue and two screws per contact point for maximum rigidity.
Pro-Tip: When assembling the seat, apply a generous bead of waterproof wood glue to every joint before driving screws. While the screws provide the clamping force, the glue creates a chemical bond that prevents the “racking” or wobbling often found in cheaper outdoor furniture. For pressure-treated lumber, ensure your glue is specifically rated for high-moisture applications to prevent delamination over time.
Step 3: Constructing the Pivot Arms
The pivot arms are the most critical component of the convertible mechanism and require 2×4 boards cut to 32 inches. Round over one end of each arm using a jigsaw or sander to allow for a smooth rotation against the main frame. Measure 2 inches from the rounded top and drill a 3/8-inch hole through the center of the board. This hole will eventually house the carriage bolt that serves as the main hinge for the entire unit.
Attach a 12-inch support block to the bottom of these arms at a 90-degree angle. This block will act as the “stop” that rests on the seat frame when the unit is in bench mode. It is helpful to dry-fit these pieces against the main frame to visualize the movement before final fastening. Ensure that the arms move freely without rubbing against the main legs or the seat boards.
Step 4: Building the Backrest and Tabletop
The backrest serves a dual purpose and must be exceptionally strong to resist sagging when it becomes a table. Cut four pieces of 2×6 lumber to 60 inches and lay them flat on a level workspace. Connect these boards using 2×2 cleats positioned 10 inches from each end. These cleats should be fastened from the underside to keep the top surface clean and free of visible screw heads.
Check for squareness by measuring the diagonals of the tabletop assembly. If the diagonal measurements are identical, the top is square and ready for mounting. Sand the edges of the 2×6 boards thoroughly to remove any splinters or sharp corners. This is the surface that users will interact with most frequently, so a smooth finish is essential for comfort and safety.
Step 5: Installing the Pivot Hardware
Align the pivot arms with the main leg frames and insert the 3/8-inch carriage bolts through the pre-drilled holes. Place a washer between the wooden surfaces to act as a low-friction bearing during the flip motion. On the outside of the frame, add another washer and the locking nut. Tighten the nut until it is snug, then back it off a quarter turn to allow the arm to swing freely without excessive play.
Test the arc of the swing multiple times to ensure the arm clears the seat boards. If the arm catches on the wood, use a rasp or heavy-grit sandpaper to trim the obstructing area. The goal is a silent, smooth motion that can be operated by a single person. Repeat this process for both sides of the bench, ensuring the arms are perfectly synchronized in their movement.
Step 6: Attaching the Top to the Pivot Arms
With the pivot arms in the “up” position, place the tabletop assembly onto the supports. The tabletop should be centered horizontally so that it overlaps the arms equally on both sides. Use heavy-duty clamps to hold the top in place while you check the level from front to back. A slight pitch of 1 degree toward the rear is acceptable for water runoff, but the surface should otherwise be flat.
Drive 2.5-inch screws through the pivot arm supports and into the tabletop cleats. Do not screw directly into the 2×6 tabletop boards from the top, as this creates entry points for moisture. By fastening through the cleats from below, you maintain the integrity of the wood and create a cleaner look. Once fastened, test the transition from bench to table several times to verify that the unit locks into place securely.
Step 7: Adding Structural Bracing
To prevent side-to-side swaying, add a 2×4 diagonal brace between the rear legs of the base frame. This brace creates a series of triangles within the structure, which is the strongest geometric shape for load distribution. Cut the ends of the brace at 45-degree angles for a professional, flush fit against the legs. This small addition significantly increases the lifespan of the furniture by reducing stress on the primary fasteners.
Check all secondary connections for tightness. Over time, wood will shrink as it dries, which can loosen the screws driven during initial construction. Re-tightening everything after the first week of outdoor exposure is a standard practice among master carpenters. This ensures the mechanical tolerances of the flip-top remain within the designed specifications.
Step 8: Final Sanding and Finishing
Remove any pencil marks or stamps from the lumber using 80-grit sandpaper on an orbital sander. Gradually move up to 120-grit for a smooth finish that is ready for stain or sealant. Pay special attention to the “end grain” of the boards, as these areas absorb moisture more quickly than the flat faces. Rounded edges are not just for aesthetics; they also hold finish better and are less likely to chip over time.
Apply a high-quality UV-rated exterior sealer or semi-transparent stain to protect the wood. If using pressure-treated pine, ensure the wood is sufficiently dry before applying any finish. A simple “water test” where you drop a small amount of water on the wood can determine readiness. If the water beads up, the wood is too wet; if it soaks in, it is ready for sealing.
Common Mistakes
The most frequent error in building convertible furniture is failing to account for the “gap” required for wood movement. Builders often fit the moving parts too tightly, only to find that the unit jams once the humidity rises and the wood swells. Always leave at least a 1/8-inch clearance between moving wooden faces to accommodate seasonal changes in the material.
Another common mistake is using standard interior screws for an outdoor project. Interior fasteners will corrode rapidly when in contact with the chemicals found in pressure-treated lumber. This leads to “bleeding” where black streaks run down the wood, followed by total structural failure. Always verify that your hardware is rated for “Ground Contact” or “ACQ Compatible” use.
Finally, many DIYers forget to check the level of the ground where the bench will sit. A convertible table requires a relatively flat surface to function correctly. If the bench is twisted because it is sitting on uneven dirt, the pivot arms will bind and the tabletop will appear crooked. Consider placing the legs on concrete pavers or a level deck to ensure long-term mechanical performance.
Maintenance and Safety
Maintaining your convertible picnic table is essential for both safety and longevity. Every six months, inspect the carriage bolts at the pivot points to ensure the locking nuts remain secure. If the motion becomes stiff, apply a small amount of dry silicone lubricant to the washers to restore smooth operation. Avoid using oil-based lubricants as they attract dust and grit which can abrade the wood.
Safety gear should be worn throughout the entire build process. Use ANSI-rated safety glasses when operating power saws and a dust mask when sanding pressure-treated lumber. The chemicals used to preserve wood can be harmful if inhaled or if they come into contact with your eyes. Always work in a well-ventilated area and wash your hands thoroughly after handling treated timber.
To maximize the life of your project, re-apply a water-repellent sealer every two years. This prevents the wood from checking, which is the process of developing deep cracks along the grain. If you live in a climate with heavy snowfall, consider covering the unit during the winter months. By following these professional maintenance steps, your convertible picnic table will remain a functional part of your backyard for over a decade.