
Introduction to the Modular French Cleat System
A chaotic workshop is the primary enemy of productivity and precision in any woodworking project. Implementing a modular French cleat storage system is the single most effective upgrade you can make to your workspace or garage. This system relies on a simple yet ingenious 45-degree interlocking geometry that allows you to move, swap, and reorganize your tool storage instantly.
Beyond the immediate organizational benefits, a professionally installed cleat wall adds tangible value to your property by creating a dedicated, high-functioning utility zone. It utilizes vertical space that often goes to waste, clearing your floor for larger assembly projects or vehicle parking. This guide provides the technical foundation required to build a system that supports hundreds of pounds while maintaining a sleek, professional aesthetic.
Investing your time in this build ensures that every tool has a home that can evolve as your collection grows. Unlike permanent shelving, the French cleat system is a living infrastructure that adapts to your changing needs and workflow. By following these professional carpentry standards, you will create a storage solution that rivals high-end commercial installations for a fraction of the cost.
Quick Specs and Project Overview
The success of a French cleat wall depends on using high-quality materials that resist warping and compression over time. For this standard 8-foot by 4-foot installation, we recommend using 3/4-inch Baltic Birch plywood for both the wall cleats and the individual tool hangers. This material offers superior screw-holding power and dimensional stability compared to standard construction-grade fir or pine.
Dimensions: 96 inches wide by 48 inches high (Standard 4×8 Sheet Layout)
Estimated Cost: $150 – $250 (Depending on plywood grade and fastener selection)
Difficulty Level: Intermediate (Requires precision table saw or track saw cuts)
Estimated Build Time: 6 to 8 hours (Including cleat preparation and initial hanger fabrication)
Comprehensive Materials and Tools List
Selecting the right hardware is just as critical as the wood itself when dealing with heavy tool loads. You will need high-quality wood glue with a high solids content to ensure the cleats become a monolithic part of the backing board or wall studs. Avoid using drywall screws for structural mounting; instead, opt for cabinet screws with oversized heads to prevent pull-through under tension.
Material Item | Specification | Quantity
Main Backing Board | 3/4 inch ACX or Baltic Birch Plywood | 1 Sheet
Cleat Stock | 3/4 inch Baltic Birch Plywood | 1-2 Sheets
Wall Fasteners | 3-inch #10 GRK Cabinet Screws | 50 Count
Hanger Fasteners | 1-1/4 inch #8 Wood Screws | 100 Count
Wood Glue | Titebond II or III | 16 oz Bottle
The tool requirements for this project focus on achieving a consistent 45-degree bevel across long lengths of plywood. A table saw is the preferred tool for ripping the cleats, as its fence ensures every strip is identical in width and angle. You will also need a reliable stud finder to ensure the system is anchored into the structural framing of your building rather than just the cosmetic wall covering.
Required Tools: Table Saw or Track Saw, Miter Saw, Impact Driver, Level (4-foot minimum), Stud Finder, Countersink Drill Bit, Tape Measure, and Fine-Tooth Saw Blade.
Technical Layout and Structural Geometry
The structural integrity of a French cleat system is derived from the mechanical advantage of the 45-degree mitered joint. When a load is applied to the tool hanger, the downward force is converted into a lateral force that pulls the hanger tighter against the wall cleat. This self-locking mechanism is exceptionally strong, provided the cleats are perfectly parallel and spaced at consistent intervals to allow for modularity across the entire wall.
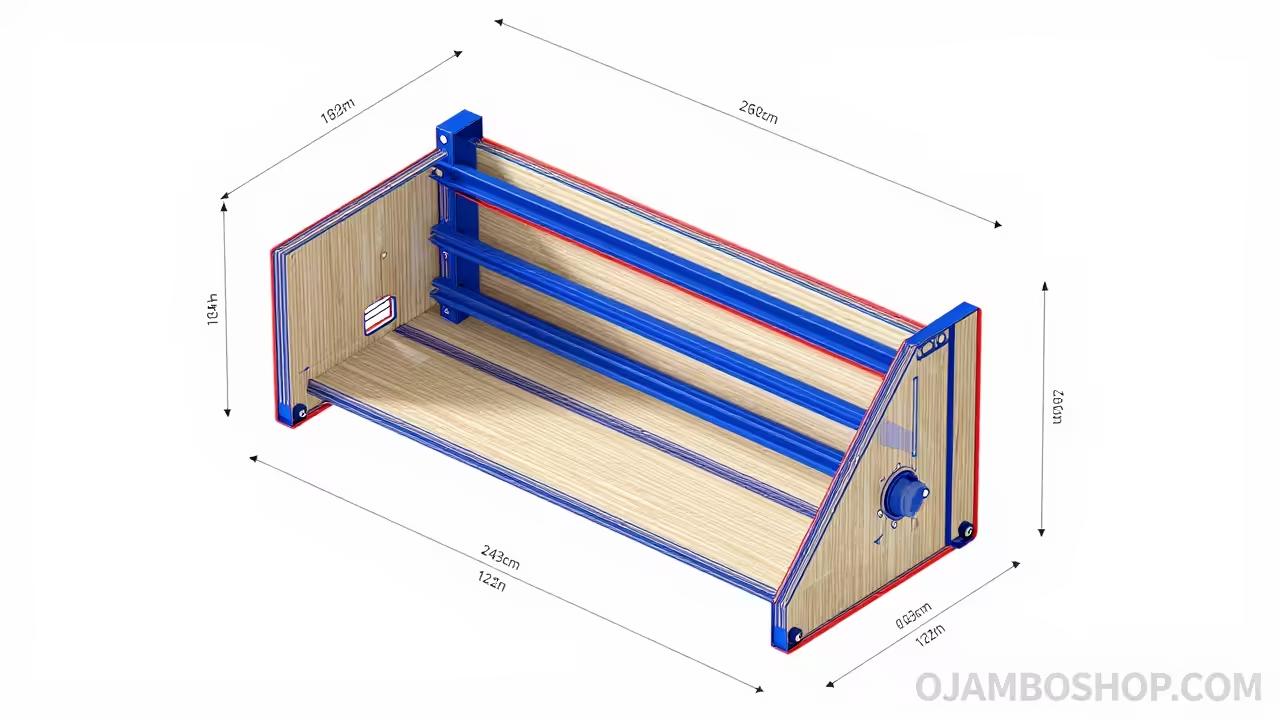
For this specific build, we utilize a 4-inch cleat width, which is then ripped at a 45-degree angle down the center to create two 2-inch wide interlocking segments. The pitch, or the vertical distance between the top of one wall cleat and the next, should be exactly 6 inches on center. This spacing allows enough room for large tool handles while maintaining enough density to maximize the storage capacity of the vertical plane.
Pro-Tip: To ensure long-term structural integrity and prevent the plywood from delaminating under heavy shear loads, always apply a thin bead of wood glue to the back of the wall cleats before screwing them into the studs. This creates a redundant bond that prevents the screws from fatiguing or backing out over years of use and vibration. Furthermore, using a 45-degree chamfer bit to slightly ease the sharp “point” of the miter will prevent the wood from splintering when you are frequently moving heavy tool holders.

Step-by-Step Instructions
Phase 1: Material Preparation and Ripping
Begin by breaking down your 4×8 sheets of plywood into manageable sections using a track saw or a circular saw with a straight edge. For the cleats, you should rip the plywood into 4-inch wide strips along the long grain of the wood for maximum strength. Ensuring these strips are perfectly straight is the most important part of the preparation phase.
Once your strips are cut, tilt your table saw blade to exactly 45 degrees to perform the bevel rip. Run each 4-inch strip through the saw so that it is divided into two identical pieces, each featuring one 45-degree edge. Keep your offcuts organized, as these will eventually become the attachment points for your individual tool holders and bins.
Phase 2: Wall Preparation and Stud Mapping
Before mounting any wood, you must identify the exact location of every stud within the section of the wall you intend to cover. Use a high-quality stud finder and mark the center of each vertical member with a pencil line that extends the full height of the installation area. Most modern residential construction features studs spaced 16 inches apart on center.
If your wall is finished with drywall, it is highly recommended to mount a 3/4-inch plywood “skin” or backing board directly to the studs first. This provides a perfectly flat reference surface and adds significant rigidity to the entire system. Check the backing board for level and plumb before securing it with 3-inch structural screws into every available stud.
Phase 3: Installing the Starter Cleat
The success of the entire wall hinges on the placement of the first cleat, usually the one closest to the floor or workbench surface. Use a long spirit level to draw a perfectly horizontal reference line across the backing board at your desired starting height. Any error in the level of this first piece will be magnified as you stack subsequent rows.
Apply a bead of wood glue to the back of the cleat and align the 45-degree “point” facing upward and toward the wall. Secure the cleat using two screws at every stud location to prevent any rotational movement. Double-check the level after the first few screws are driven to ensure the board has not shifted under the torque of the driver.
Phase 4: Sequential Cleat Spacing
To maintain perfect vertical alignment without measuring every individual row, create two “spacer blocks” from scrap wood. These blocks should be exactly 4 inches tall, or whatever distance you have chosen for the gap between your cleats. Place these blocks on top of the previously installed cleat to support the next one during the fastening process.
Rest the next cleat on the spacer blocks, apply glue, and drive your screws into the studs. This method guarantees that every cleat is perfectly parallel to the one below it, which is essential for modularity. Repeat this process until you have reached the desired height of your tool wall, checking for level every three rows.
Phase 5: Fabricating Universal Tool Hangers
The individual tool holders are what make the French cleat system truly functional for a custom workshop. Each hanger consists of a backing plate and a small section of the 45-degree cleat material we cut in Phase 1. The bevel on the hanger must face downward and toward the wall to interlock with the wall-mounted cleat.
Use wood glue and 1-1/4 inch screws to attach the cleat segment to the back of your hanger plate. Make sure the screws are countersunk so they do not scratch the wall-mounted cleats or the backing board. Once the basic hanger is built, you can customize the front face with hooks, shelves, or custom-fit slots for specific tools.
Phase 6: Customizing for Heavy Power Tools
Heavy items like miter saws, drill presses, or large sanders require a reinforced version of the standard hanger. For these items, use a larger backing plate that spans across two or even three horizontal wall cleats simultaneously. This distributes the weight across a larger surface area and multiple points of contact.
Ensure that the cleat segments on the back of these heavy hangers are perfectly aligned so they engage all wall cleats at the same time. You may also want to add a “stand-off” block at the bottom of the hanger plate. This block should be the same thickness as the cleat to keep the hanger perfectly vertical against the wall.
Phase 7: Building Specialized Drill and Driver Stations
A common first addition to a cleat wall is a dedicated station for cordless drills and impact drivers. Design a shelf with vertical cutouts that allow the tools to hang by their chucks or battery housings. Ensure the spacing between cutouts is wide enough to accommodate the batteries and any belt hooks attached to the tools.
Mount the cleat to the back of this station using the same glue and screw method used for smaller hangers. Because drill stations often hold multiple heavy tools and chargers, consider using a full-width cleat that spans the entire back of the unit. This provides the lateral stability needed when pulling a tool out or pushing it back into its slot.
Phase 8: Final Sanding and Protective Finishing
While it may be tempting to leave shop projects raw, applying a simple finish will significantly extend the life of your storage system. Sand all sharp edges and corners with 120-grit sandpaper to prevent splinters and make the hangers feel comfortable in your hand. Pay special attention to the 45-degree interlocking faces to ensure they slide smoothly.
Apply a single coat of water-based polyurethane or a simple paste wax to the cleats and the hangers. This reduces friction, making it easier to slide components horizontally along the wall. It also protects the wood from the humidity and temperature swings common in garages and outdoor workshops.
Common Mistakes to Avoid
One of the most frequent errors is using a miter angle other than a true 45 degrees. Even a small deviation of 2 or 3 degrees can prevent the hangers from seating fully, leading to a “rocking” motion that eventually loosens the fasteners. Always use a digital angle gauge to verify your saw blade’s tilt before making your primary rips.
Another mistake is failing to account for the thickness of the plywood when designing hangers for tight spaces. If your hanger plate is too thin, it may flex under the weight of the tool, causing the cleat to disengage. Stick to 3/4-inch material for any hanger intended to hold more than five pounds of weight.
Lastly, many builders skip the glue on the wall-mounted cleats, thinking that screws alone are sufficient. Over time, the constant vibration of shop activity and the repeated loading and unloading of tools can cause screws to slightly enlarge their holes in the studs. Glue acts as a permanent insurance policy against this mechanical failure.
Maintenance and Safety Protocols
Safety is paramount when installing a system meant to hold heavy, sharp objects overhead. Always wear impact-rated safety glasses when driving screws into wall studs, as hitting a hidden metal plate or a hardened nail can cause a screw head to snap and fly off. Ensure your workspace is well-ventilated if you are applying any finishes or using large amounts of wood glue.
Every six months, perform a “shake test” on your most heavily loaded tool hangers to ensure the cleats are still seated firmly. Inspect the wall-mounted cleats for any signs of cracking or pulling away from the backing board. If you live in a high-humidity environment, check the 45-degree joints for any swelling that might interfere with the modular movement of the system.
To keep the system looking professional, use a vacuum with a brush attachment to clear sawdust out of the “troughs” created by the cleats. Accumulated dust can prevent hangers from seating deeply into the miter, which compromises the safety of the connection. A clean cleat wall is a safe cleat wall.