

Introduction to the Urban Backyard ADU
Adding a 350 square foot accessory dwelling unit is one of the most effective ways to increase your property value. This project provides a dedicated space for guests, a quiet home office, or a consistent source of rental income.
Modern urban density requires smart living solutions that do not compromise on structural integrity or aesthetic appeal. By following this master carpenter guide, you will transform an underutilized backyard into a high-functioning living asset.
Building your own ADU allows for total control over material quality and architectural details. This guide focuses on a 14 foot by 25 foot footprint that balances interior spaciousness with standard backyard setbacks.
Quick Specs
Dimensions: 14′ x 25′ (350 Square Feet)
Estimated Cost: $25,000 – $45,000 (Material dependent)
Difficulty Level: Advanced DIY / Professional Lead
Estimated Build Time: 12 to 16 Weeks
Materials and Tools
Quality construction begins with a precise bill of materials to prevent mid-project delays. We utilize pressure-treated lumber for all ground-contact components and kiln-dried Douglas Fir for the primary vertical framing.
| Material Category | Specification | Primary Use |
|---|---|---|
| Sills and Plates | 2×6 Pressure Treated | Foundation Contact |
| Wall Studs | 2×4 or 2×6 Douglas Fir | Vertical Load Bearing |
| Floor Joists | 2×10 SPF Labeled | Main Floor Span |
| Roof Rafters | 2×8 Douglas Fir | 4:12 Pitch Slope |
| Exterior Sheathing | 7/16 OSB or CDX | Shear Wall Strength |
| Fasteners | 3-1/4″ Framing Nails | Structural Assembly |
| Moisture Barrier | Synthetic House Wrap | Weatherproofing |
The tool kit for this build requires professional-grade pneumatic and power tools. You will need a sliding compound miter saw, a 7-1/4 inch circular saw, a framing nailer, a rotary hammer drill for foundation anchors, and a 6-foot level.
Accuracy is the difference between a structure that lasts a decade and one that lasts a lifetime. Ensure you have a high-quality chalk line, a speed square, and a heavy-duty impact driver for all structural screw applications.
Technical Layout and Structural Design
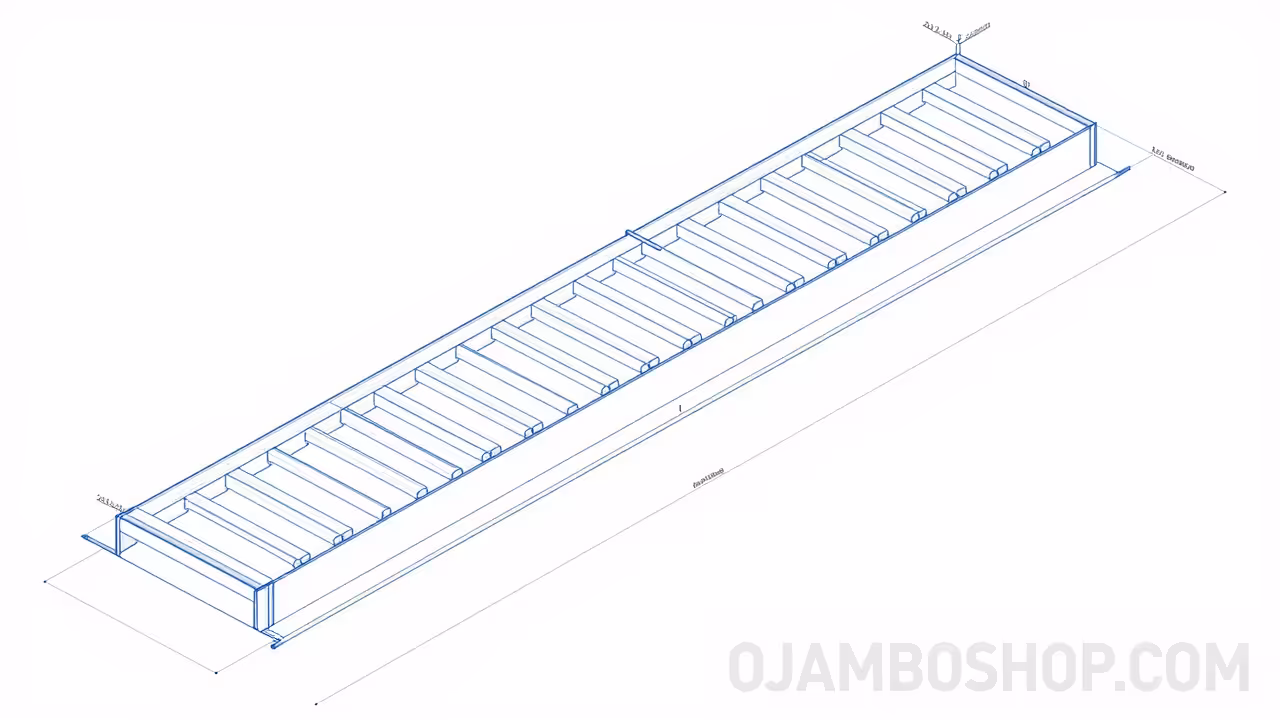
The structural integrity of a 350 square foot ADU relies on a continuous load path from the roof peak down to the footings. We utilize a standard 16-inch on-center framing spacing for both the floor joists and the wall studs to ensure maximum rigidity. The floor system features 2×10 joists capped with 3/4-inch tongue-and-groove subflooring, which creates a rock-solid platform for the living space. For the walls, we employ double top plates to distribute the weight of the roof rafters evenly across the vertical members. Header spans over the 6-foot patio door and 3-foot windows are reinforced with double 2×10 lumber and 1/2-inch plywood flitch plates. This specific engineering approach prevents sagging over time and accommodates the localized snow loads or wind pressures common in urban environments. The roof uses a traditional stick-framed rafter system with a 4:12 pitch, providing a classic profile that sheds water efficiently while allowing for a vaulted interior ceiling.
Step-by-Step Instructions
Phase 1: Foundation and Site Preparation
Before any lumber arrives, you must ensure the site is level and the soil is compacted. For an ADU of this size, a thickened-edge monolithic slab or a crawlspace with concrete piers is recommended. If you choose a pier system, dig your footings below the local frost line to prevent seasonal shifting.
Install your 2×6 pressure-treated sill plates using 5/8-inch anchor bolts spaced every 4 feet. Apply a sill sealer gasket between the concrete and the wood to prevent moisture wicking into the structure. Check your diagonals repeatedly during this stage to ensure the foundation is perfectly square.
Phase 2: Floor Joist Installation
Lay out your floor joists at 16 inches on center, starting from one edge of the rim joist. Use joist hangers for any flush-mounted interior spans to provide superior shear strength compared to end-nailing alone. Block the joists at the mid-span to prevent twisting and to dampen floor vibrations.
Once the joists are secured, apply a heavy bead of subfloor adhesive to the top of each member. Lay your 3/4-inch plywood sheets perpendicular to the joists, staggering the seams by at least 4 feet. Use 8d ring-shank nails or structural screws every 6 inches along the edges to eliminate future floor squeaks.
Phase 3: Wall Framing and Headers
Construct your walls flat on the subfloor before raising them into position. Start with the long 25-foot side walls, ensuring the bottom plate is straight and the studs are perfectly vertical. Use a double top plate to tie the corners together and provide a sturdy base for the roof system.
Rough openings for windows and doors must be sized 1/2-inch larger than the manufacturer specifications to allow for shimming. Install king studs and jack studs for every opening to transfer the roof load around the gaps. Temporary bracing is essential once the walls are upright to keep them plumb during the rest of the build.
Phase 4: Roof Rafters and Sheathing
The roof defines the character of the ADU and provides the primary defense against the elements. Cut a master pattern for your rafters with a birdsmouth notch that sits securely on the top plates. Use a ridge board that is one size larger than your rafters, such as a 2×10 for 2×8 rafters, to provide full bearing.
After the rafters are installed at 24 inches on center, install H-clips between the sheets of roof sheathing. These small metal clips allow for natural wood expansion and prevent the edges of the OSB from sagging between rafters. Cover the roof immediately with a high-quality synthetic underlayment to dry-in the structure.
Phase 5: Exterior Sheathing and House Wrap
Wrap the entire exterior in 7/16-inch OSB, ensuring that the sheets overlap the floor rim joist for better structural tying. Nail the sheathing every 6 inches on the edges and every 12 inches in the field. This creates a “shear wall” that protects the building from racking during high winds.
Apply a professional-grade synthetic house wrap starting from the bottom and working upward. Overlap each layer by at least 6 inches and tape all seams with manufacturer-approved flashing tape. Pay special attention to the window and door openings by using a “sill pan” flashing method to redirect water.
Phase 6: Windows, Doors, and Siding
Install your windows using high-quality silicone caulk behind the mounting flanges. Level and shim the units carefully so the sashes operate smoothly without binding. Tape the top flange over the house wrap, but leave the bottom flange untaped to allow any trapped moisture to escape.
For the siding, choose a material that matches the primary residence for a cohesive backyard look. Fiber cement siding is a top-tier choice for ADUs because it is fire-resistant and holds paint for decades. Install a 1×4 corner trim first to give the siding a clean surface to butt against.
Phase 7: Interior Mechanicals and Insulation
Once the shell is weathered-in, pull your electrical, plumbing, and HVAC lines. Since the ADU is only 350 square feet, a mini-split heat pump system is the most efficient climate control option. Route the refrigerant lines through the wall before the insulation phase begins.
Insulate the walls with R-15 mineral wool batts for superior sound dampening and thermal performance. Use R-30 or higher for the ceiling to keep the living space comfortable during peak summer heat. Install a 6-mil poly vapor barrier over the insulation if you live in a cold climate to prevent interstitial condensation.
Phase 8: Drywall and Interior Finishes
Hang 1/2-inch drywall on the walls and 5/8-inch “Type X” drywall on the ceilings for better fire ratings. Use a mesh tape for the joints to minimize cracking over time. Apply three thin coats of joint compound, sanding lightly between each layer for a professional “Level 4” finish.
Install a durable flooring option like Luxury Vinyl Plank (LVP), which handles the high foot traffic of a small space. Finish the interior with 3-1/4 inch baseboards and simple window casing. Painting the interior a bright, neutral white will make the 350 square foot footprint feel significantly larger and more inviting.
Common Mistakes to Avoid
The most frequent error in ADU construction is failing to verify local zoning setbacks before pouring the foundation. Always confirm that your structure is the required distance from property lines and existing utility easements.
Another common mistake is undersizing the headers over large spans like patio doors. A sagging header will cause windows and doors to stick and can lead to structural cracks in the drywall. Always use the “over-engineer” approach when it comes to load-bearing members.
Skipping the vapor barrier or using low-quality house wrap is a recipe for long-term rot. Moisture is the greatest enemy of any wood-frame building. Investing in premium flashing tapes and integrated drainage planes will save thousands of dollars in future repairs.
Pro-Tip: Enhancing Structural Longevity
To significantly increase the lifespan of your ADU, use stainless steel or hot-dipped galvanized fasteners for all exterior trim and pressure-treated wood. Standard steel nails will react with the chemicals in treated lumber and corrode within a few years. Additionally, ensure that your siding is installed at least 6 inches above the finished grade. This gap prevents “splash back” moisture from soaking into the bottom of your wall plates, which is the number one cause of sill rot in backyard structures.
Maintenance and Safety
Inspect your exterior caulking and paint every two years to identify any cracks or peeling. Small touch-ups prevent water from entering the envelope and causing hidden mold issues. Clean your gutters every fall to ensure water is being diverted away from the foundation footings.
Always wear a dust mask when cutting pressure-treated lumber or fiber cement siding to avoid inhaling hazardous particulates. Use safety glasses and hearing protection whenever power tools are in operation. Work with a partner when raising wall sections or installing heavy roof rafters to prevent muscle strain or accidents.
Weatherproofing is an ongoing process rather than a one-time event. Check the seals around your mini-split penetrations and utility entries annually. By maintaining the exterior shell, you protect your investment and ensure the 350 square foot ADU remains a high-value asset for decades.