Tag: Furniture Plans
-
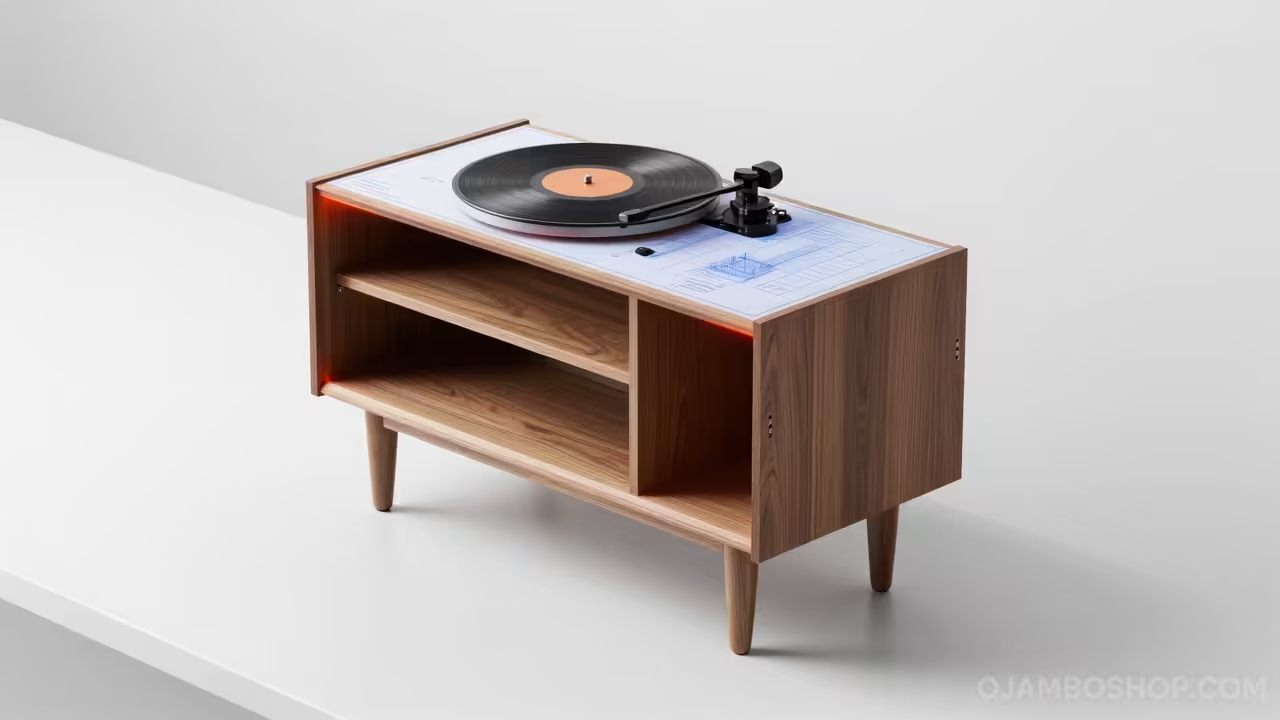
How to Build a Custom Mid-Century Modern Record Player Console with Integrated Vinyl Storage
Learn how to build a professional Mid-Century Modern record player console with integrated vinyl storage using this comprehensive woodworking guide featuring detailed technical layouts and step-by-step assembly instructions.
Written by
-
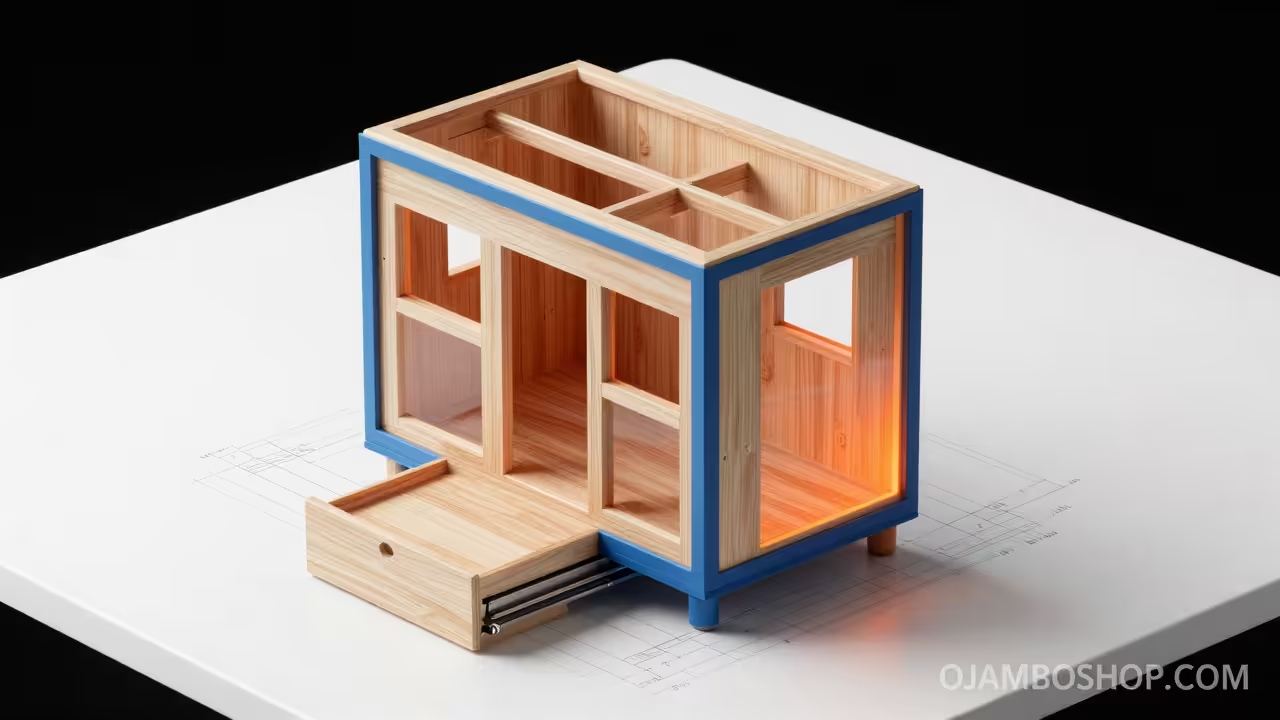
How to Build a Custom Tiny House Storage Stairs System for Maximum Space Efficiency
Learn how to construct professional-grade tiny house storage stairs with this comprehensive guide.
Written by