Tag: DIY furniture
-
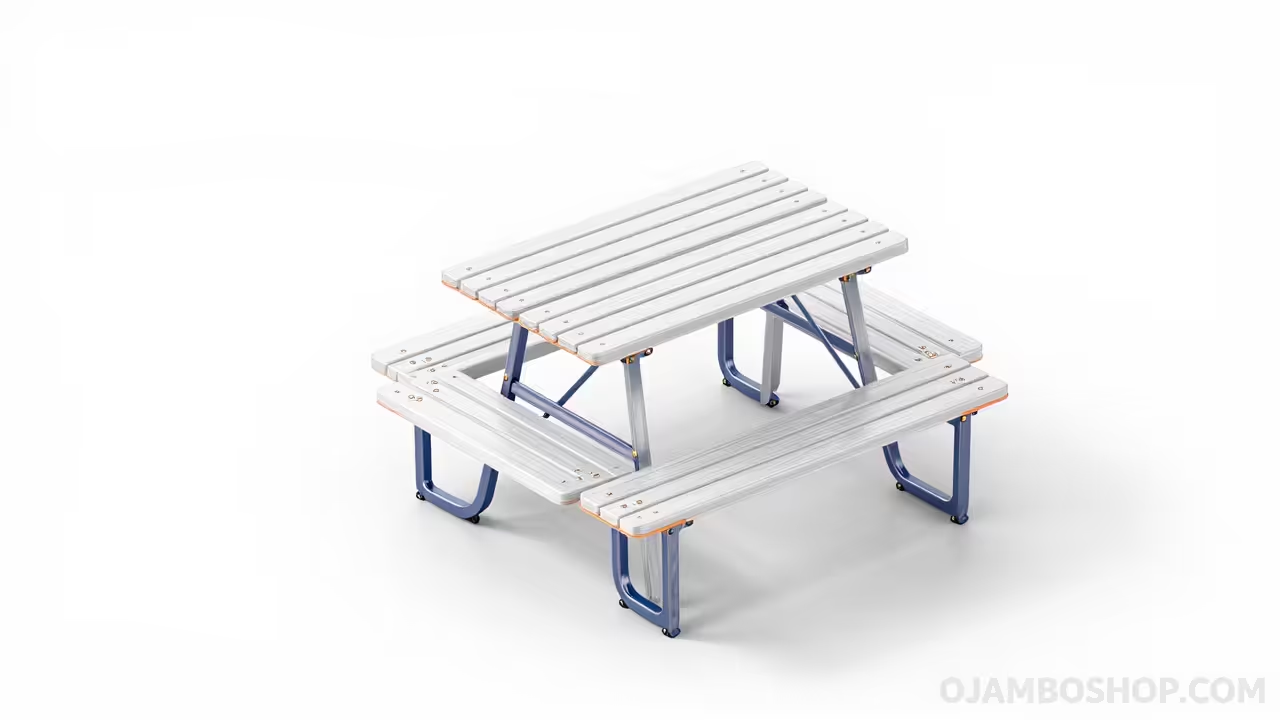
The Ultimate Space Saving Convertible Picnic Table To Garden Bench Woodworking Guide
Master your backyard space with this comprehensive guide to building a professional convertible picnic table that flips into a garden bench using simple materials and basic power tools.
Written by
-
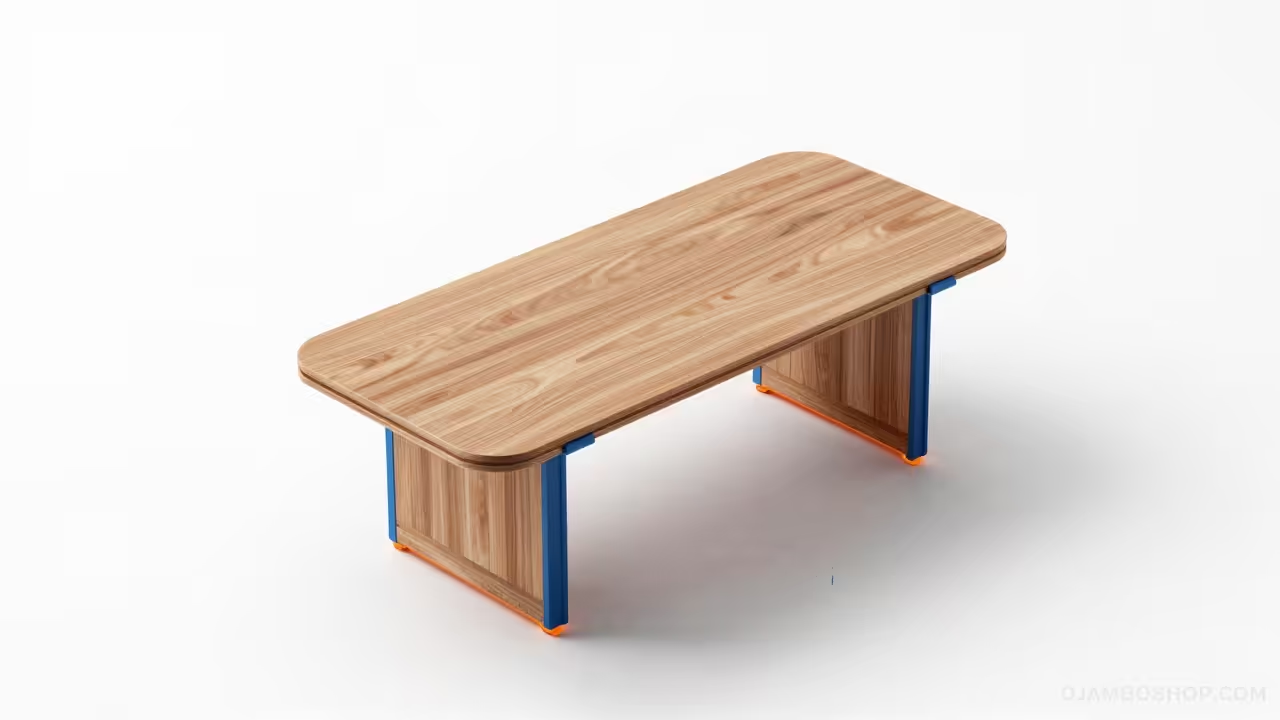
How to Build a Japanese Style Shou Sugi Ban Outdoor Dining Table
Transform your patio with our professional master carpenter guide to building a scorched cedar Japanese style dining table using authentic shou sugi ban techniques for extreme weather durability.
Written by

-
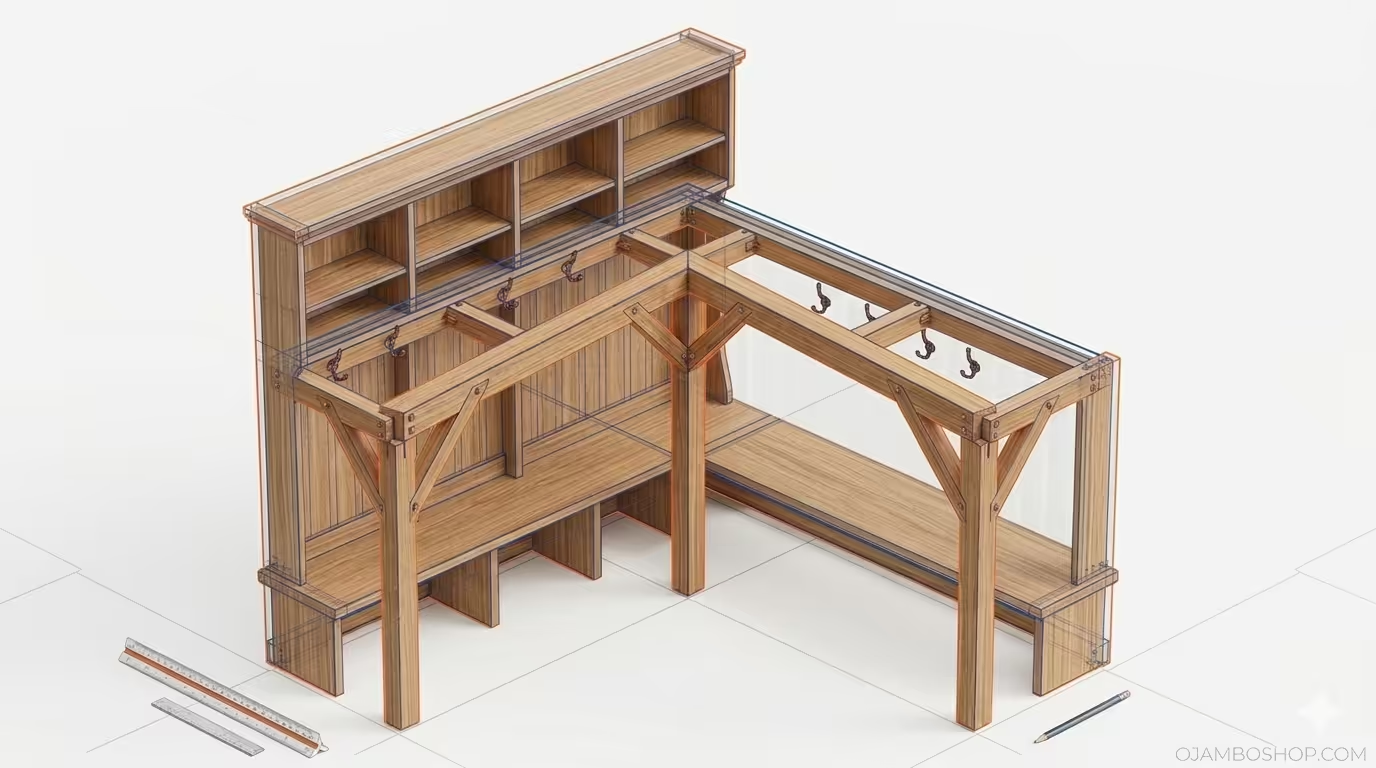
Viral Entryway Transformation: How to Build a Professional Grade Hall Tree with Bench and Cubbies
Transform your home with this professional DIY hall tree project.
Written by
-
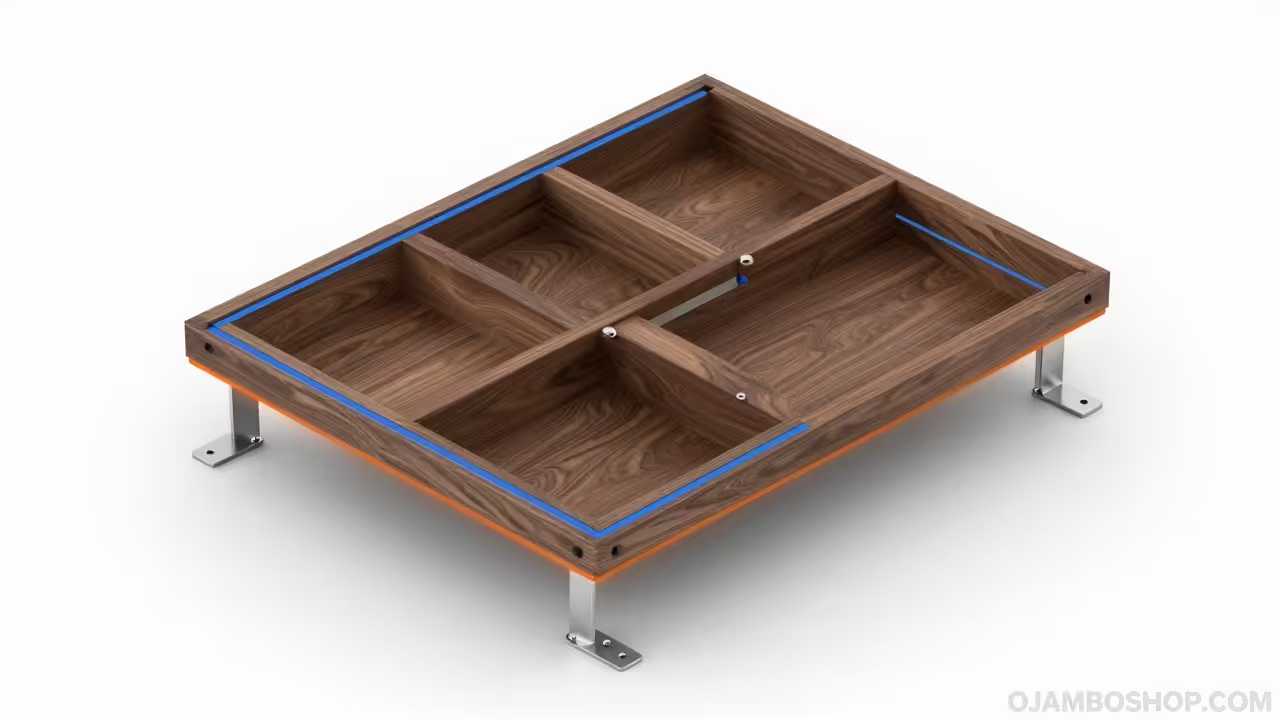
The Ultimate Guide to Heavy Duty Floating Walnut Shelves: Build Like a Pro
Learn how to build and install professional-grade floating walnut bookshelves using heavy-duty hidden brackets.
Written by
-
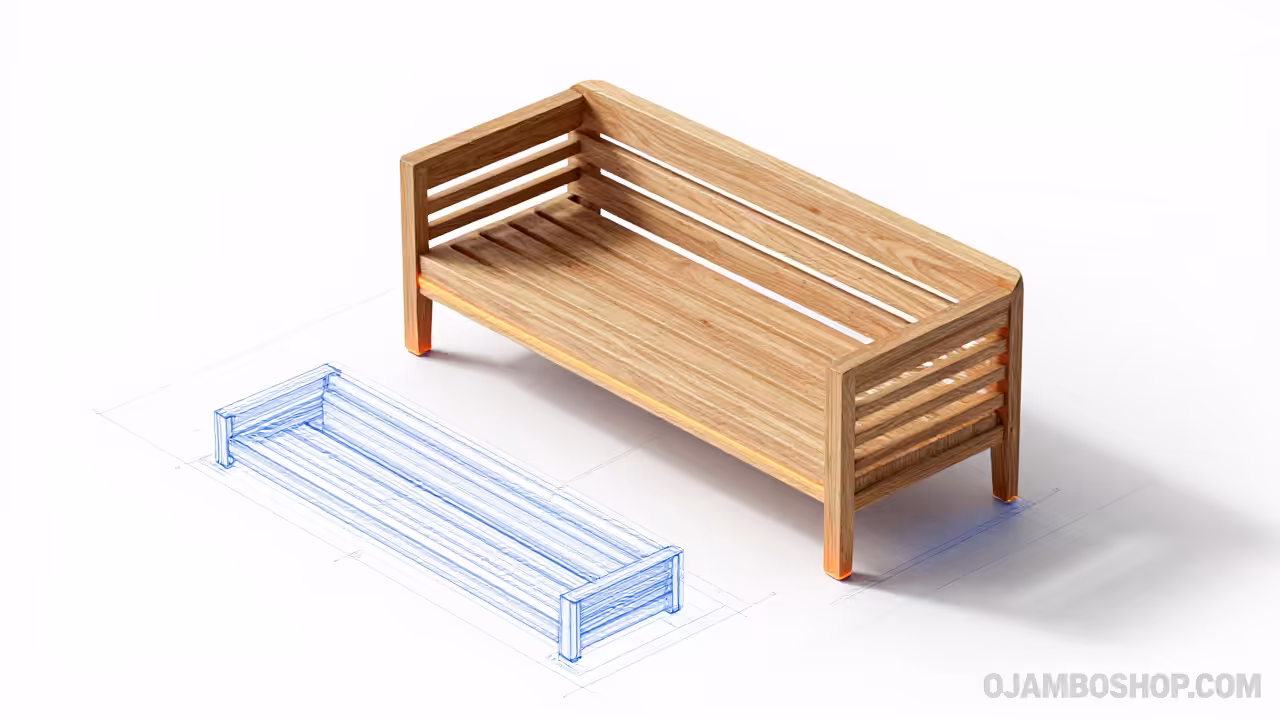
How to Build a Modern Slatted Outdoor Sofa for a Professional Deck Upgrade
Learn how to construct a durable, modern slatted outdoor sofa using teak or cedar with our comprehensive guide featuring professional joinery techniques and weatherproofing for your backyard space.
Written by
-
Build This Stunning Modern Farmhouse X-Base Dining Table for a Fraction of the Retail Cost
Master the art of furniture building with our comprehensive guide to creating a professional-grade X-base dining table.
Written by